
Fresh drywall has a way of showing every flaw. A seam that looked fine under work lights can stand out in daylight, and a wall that seems smooth can still feel unfinished once the paint goes on. If you are figuring out how to texture new drywall, the biggest difference between a clean result and a frustrating one usually comes down to prep, timing, and choosing a texture that fits the room.
Texturing is not just about appearance. It helps create a finished surface, softens minor imperfections, and gives walls or ceilings a more consistent look. Done right, it adds character without calling attention to itself. Done poorly, it can make patch lines, lap marks, and uneven mud work more obvious.
How to texture new drywall starts with prep
Before any texture goes on the wall, the drywall finish underneath needs to be ready for it. That does not always mean a perfectly smooth Level 5 finish, but it does mean joints should be taped correctly, fasteners should be set and covered, and the surface should be sanded enough to remove ridges, bumps, and loose debris.
Dust is one of the most common problems at this stage. If sanding dust is still sitting on the walls, texture will not lay down evenly. It can clump, flash through paint, or fail to bond the way it should. A quick vacuum and wipe-down goes a long way.
Primer matters too. New drywall and joint compound absorb moisture differently, which can cause texture to dry at uneven rates and create a blotchy look. A quality drywall primer helps seal the surface so the texture sprays or rolls on more consistently. Skipping primer may save a step, but it often creates more work later.
If you are working in an occupied home, protect the room before you start. Texture has a way of traveling. Cover floors, mask trim, and remove or protect furniture. On ceilings especially, overspray can end up farther than expected.
Choose the right texture for the space
Not every texture works well in every room. Some are subtle and modern. Others are heavier and better at hiding surface variation. The right choice depends on the look you want, the condition of the drywall work, and how closely the new area needs to match nearby walls or ceilings.
Orange peel is one of the most common options because it is clean, fairly subtle, and works well in many homes. It has a light splatter pattern that breaks up the flat surface without becoming too aggressive. Knockdown starts with a sprayed splatter and then gets flattened slightly with a broad knife. It adds more movement and can hide more minor defects than orange peel.
Hand-applied textures, such as skip trowel, create a more custom look but require a steadier touch and more experience to keep consistent. Smooth finish is also an option, but it is less forgiving. If the framing, hanging, or finishing is not especially clean, smooth walls tend to reveal every imperfection.
For remodel work, matching the existing texture is usually more important than picking a favorite style. A perfect new texture that does not match the rest of the room can still look wrong.
The basic materials and tools you will need
Most new drywall texture jobs use joint compound thinned with water to the proper consistency. The exact mix depends on the application method. Spray textures need to move through a hopper or sprayer without clogging, while roller-applied textures may need a thicker body.
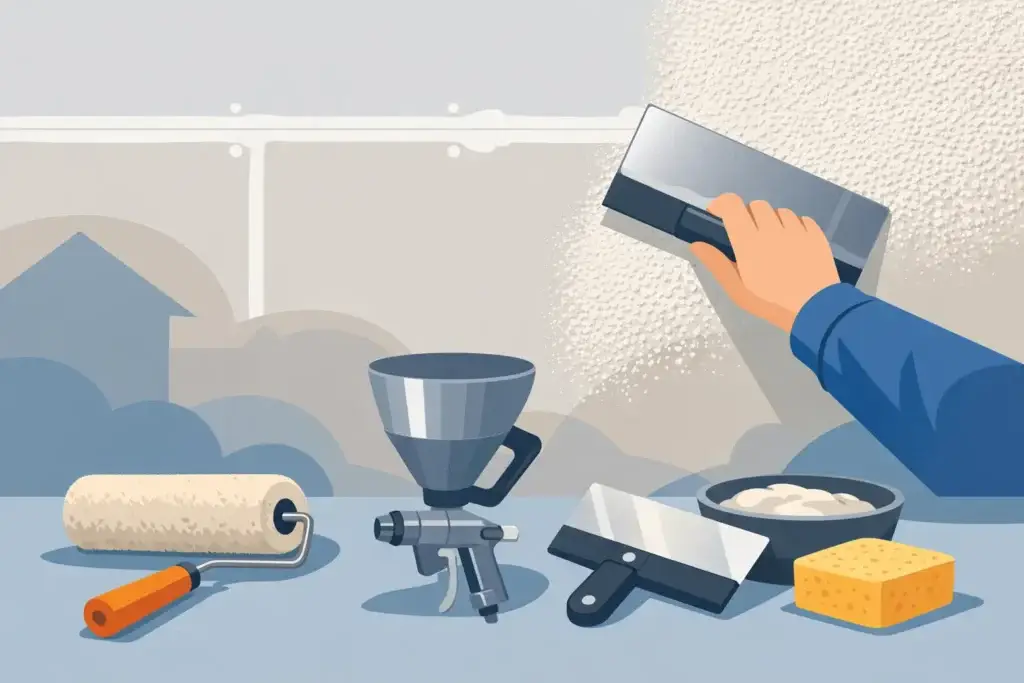
Common tools include a mixing paddle, bucket, primer, texture sprayer or hopper gun, air compressor if needed, roller, broad knife for knockdown finishes, masking materials, and sandpaper for final touch-ups. Good lighting also helps more than people expect. Side lighting reveals heavy spots, missed areas, and uneven application before everything dries.
There is no single perfect consistency for every texture. Too thick, and the material spits, clumps, or leaves sharp peaks. Too thin, and it runs, flattens out, or loses the pattern. Testing on scrap drywall or a hidden area is worth the time.
How to apply texture without making a mess of it
Once the wall is primed and masked, mix the compound thoroughly until it is smooth and free of dry chunks. Add water gradually. Rushing this step often creates spray issues later.
If you are applying orange peel or splatter with a hopper, start with a test panel. Adjust the air pressure, nozzle size, and mud consistency until the pattern looks right. This is where many do-it-yourself jobs go sideways. People tend to start spraying the actual wall before dialing in the equipment, and then they spend the rest of the job trying to correct a bad pattern.
Keep your application steady and overlap passes slightly. If one section gets a heavy coat and the next gets a light coat, the difference will be visible after paint. Work in manageable sections and maintain a consistent distance from the surface.
For knockdown texture, timing matters. After the splatter is applied, let it set just long enough for the peaks to lose their wet shine. Then drag a clean knockdown knife lightly across the surface. If you knock it down too soon, the texture smears. If you wait too long, it hardens and will not flatten properly.
Ceilings are more physically demanding and less forgiving because gravity affects the material differently. A lighter, more controlled application usually produces a better result than trying to cover too much at once.
Common problems when texturing new drywall
The most frequent issue is inconsistency. One wall may have a fine pattern while another has a heavier one. This usually comes from changes in mud thickness, spray pressure, or hand speed. Keeping the mix uniform and checking your pattern often helps prevent that.
Another common problem is flashing after paint, where joints or repaired areas show through because the surface porosity is uneven. Primer reduces that risk, but so does making sure the drywall finish is properly sanded and sealed before texture begins.
Runs, drips, and sagging usually mean the material is too wet or applied too heavily. Dry spray or rough, sandy texture can mean the spray setting is off, the mud is too dry, or the operator is standing too far from the wall.
Patchiness at room corners and around cut-ins is also common. These areas need the same pattern density as the field of the wall, but they are easy to underapply when trying to avoid overspray. Careful masking helps you work tighter without sacrificing coverage.
When DIY makes sense and when it does not
A small room, closet, or garage wall can be a reasonable DIY project if you have time to test the pattern and do not need a perfect match. New construction or large open areas are different. The more visible the wall and the more natural light it gets, the easier it is to see mistakes.
Texture also sits on top of everything that came before it. If the joints are not finished properly, if the corners are rough, or if the board itself was hung with alignment issues, texture will only hide so much. That is why many homeowners decide to bring in a drywall crew when they want a finish that looks clean from every angle, not just from across the room.
For commercial spaces, consistency is even more important. Offices, retail interiors, tenant improvements, and multifamily units need a finish that is repeatable and professional across large square footage. In those settings, speed matters, but so does control.
How to texture new drywall for a paint-ready finish
After the texture dries fully, inspect the surface before painting. Look for thin spots, heavy buildup, sharp edges, or debris caught in the pattern. Light sanding may be needed in a few places, especially with knockdown or hand-applied textures.
Then prime again if the texture product or surface condition calls for it. Some contractors go straight to paint after texture dries, but a dedicated primer coat often gives more uniform color and sheen. That matters most with flat walls in bright rooms, where every variation becomes easier to see.
Choose the paint sheen carefully. Higher sheen paints reflect more light and make imperfections stand out. In most homes, eggshell or flat finishes help textured walls look more even and natural. Bathrooms, kitchens, or commercial areas may need a balance between washability and appearance.
At KCS Drywall, we see this often on remodel projects where the texture itself was not the only issue. The final look depended on proper prep, a controlled application, and making sure the painted finish matched the rest of the space.
Texturing new drywall is one of those jobs that looks simple until the wall dries and the light hits it. A little patience at the front end pays off more than trying to fix a rushed finish later. If you want walls or ceilings that look clean, consistent, and ready to last, treat texture like part of the finish system, not the shortcut.