
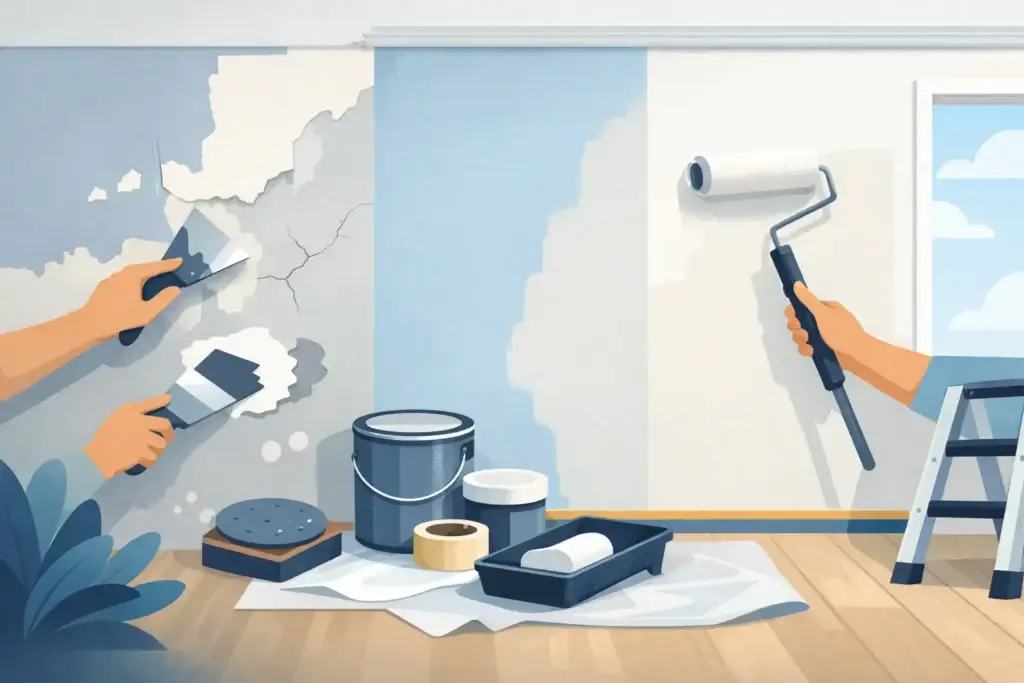
A fresh coat of paint can brighten a room quickly, but paint will not hide poor wall conditions for long. Knowing how to prepare walls for painting is what separates a clean, durable finish from one that shows cracks, stains, roller marks, or peeling within months. The work happens before the first brush touches the wall.
For Oklahoma homes and commercial spaces, preparation also matters because walls often deal with settling cracks, humidity changes, scuffs, nail pops, and everyday wear. Taking the time to repair and prime the surface protects the investment you are making in new paint.
How to Prepare Walls for Painting Step by Step
The right process depends on the wall’s condition. A lightly used bedroom with sound paint needs less work than a kitchen with grease buildup or a living room with damaged drywall. Start by looking closely at the surface in good light, preferably with daylight or a work light aimed across the wall. This reveals dents, texture inconsistencies, patched areas, and sheen differences that are easy to miss otherwise.
Clear and protect the work area
Move furniture away from the walls or to the center of the room. Cover it with clean plastic or drop cloths, then protect floors with canvas drop cloths or rosin paper. Canvas is usually the better option for floors because it is less slippery and can absorb small spills.
Remove outlet covers, switch plates, curtain hardware, artwork, and anything mounted on the wall when possible. If something cannot be removed, mask it carefully. Use painter’s tape along trim, baseboards, windows, and door frames only after those surfaces are clean and dry. Tape adheres poorly to dust and can pull away fresh caulk or old finish if left in place too long.
Clean the walls thoroughly
Paint needs a clean surface to bond properly. Even walls that look clean can carry fine dust, hand oils, cooking residue, smoke film, or cleaning-product buildup. These contaminants can lead to fisheyes, uneven sheen, and peeling paint.
For most interior walls, wipe the surface with a sponge or microfiber cloth and a mild detergent mixed with warm water. Work from the bottom up to reduce streaking, then rinse with a separate damp cloth. Kitchens, laundry rooms, and areas near fireplaces may require a stronger degreasing cleaner. Avoid soaking drywall. The goal is to clean the facing paper and paint film, not saturate the wall.
Let the walls dry fully before moving on. In a humid room or after heavy cleaning, that may mean waiting overnight. Painting over damp drywall can trap moisture and create adhesion problems.
Repair cracks, holes, and damaged drywall
Small flaws become much more noticeable after painting, especially with satin, semi-gloss, or dark colors. Flat paint is more forgiving, but it should not be used as a substitute for proper repairs.
Start by removing loose drywall paper, flaking paint, and weak joint compound around damaged areas. For nail holes and small dents, apply lightweight spackle or joint compound with a putty knife. Use thin coats rather than one heavy application. Thick patches take longer to dry and are more likely to shrink or crack.
For wider cracks, recurring seam cracks, or nail pops, the repair may need more than filler. A crack that follows a drywall joint can require tape, joint compound, and careful feathering to prevent it from returning. Water stains, soft drywall, bubbling tape, and extensive holes should be addressed at the source before paint goes on. If there is an active leak or moisture issue, painting first only covers the symptom.
A dependable repair should blend into the wall, not sit on top of it. Feather the compound several inches beyond the repair so there is no raised edge visible once the paint dries.
Sand for a smooth, even surface
After patches are dry, sand them with fine-grit sandpaper, typically 120- to 220-grit depending on the repair. Sand until the patch feels level with the surrounding wall. Run your hand over the area, but also check it from an angle with a bright light. Your hand can catch a ridge that your eyes miss, while side lighting can reveal a shallow depression.
If the existing walls have a glossy finish, lightly scuff-sand them as well. Glossy surfaces can prevent new paint from bonding as well as it should. You do not need to remove all existing paint. You only need to dull the sheen and create a clean surface for primer or paint to grip.
Drywall dust is fine and persistent, so vacuum the walls with a brush attachment after sanding. Follow with a tack cloth or a slightly damp microfiber cloth. Skipping this step is a common cause of rough-looking painted walls. Paint can lock dust into the finish, leaving a gritty texture that is difficult to correct without sanding and repainting.
Caulk gaps around trim and edges
Inspect the lines where walls meet baseboards, door casing, window trim, and crown molding. Small gaps can cast shadows and make an otherwise clean paint job look unfinished. Use a paintable acrylic latex caulk for narrow gaps, applying a smooth, consistent bead.
Do not caulk large cracks caused by shifting materials or gaps that need a more substantial repair. Also avoid caulking areas that need to remain open for movement, such as certain expansion joints. When in doubt, use caulk for small finish gaps and repair compound or professional assessment for damaged drywall.
Smooth the caulk immediately with a damp finger or caulk tool, then allow it to cure according to the manufacturer’s directions. Paint applied over uncured caulk can crack or discolor.
Prime where it counts
Primer is not always required over a sound wall that is being repainted with a similar color and sheen. However, it is the right choice after drywall repairs, major color changes, stains, bare drywall, smoke damage, or glossy surfaces. Primer creates a more uniform base, helping the topcoat look consistent and reducing the number of paint coats needed.
Spot-prime small repairs when the surrounding paint is in good condition. Prime the entire wall when there are many patches, significant staining, or a dramatic color change. For water marks, nicotine residue, tannin bleed, or permanent marker, use a stain-blocking primer rather than standard wall primer. Ordinary paint may cover a stain at first, but the discoloration can bleed back through later.
Choose the primer to match the problem. Water-based primers work well for many interior jobs and dry quickly. Oil-based or shellac-based stain blockers can be more effective for severe stains, though they have stronger odors and require more careful cleanup.
Before You Open the Paint Can
A final inspection saves time. Walk the room slowly and check each wall for dust, missed holes, raised patch edges, loose tape, wet caulk, and unprimed repairs. Confirm the room is within the paint manufacturer’s recommended temperature range, and make sure fans, vents, and open windows are not blowing dust directly onto the walls.
It also helps to plan your painting order. Cut in around ceilings, trim, windows, and corners first, then roll the larger wall areas while the cut-in edges are still wet. This helps maintain a consistent finish and reduces visible lap marks.
If the walls have widespread cracking, damaged texture, moisture staining, or repairs that keep returning, professional drywall work is often more cost-effective than repeated patching. KCS Drywall helps Oklahoma property owners correct the surface before paint, so the finished room looks clean from every angle.
Good paint deserves a sound surface beneath it. Give the repairs, cleaning, sanding, and primer the attention they need, and the color you choose will have the smooth, lasting finish it was meant to deliver.