
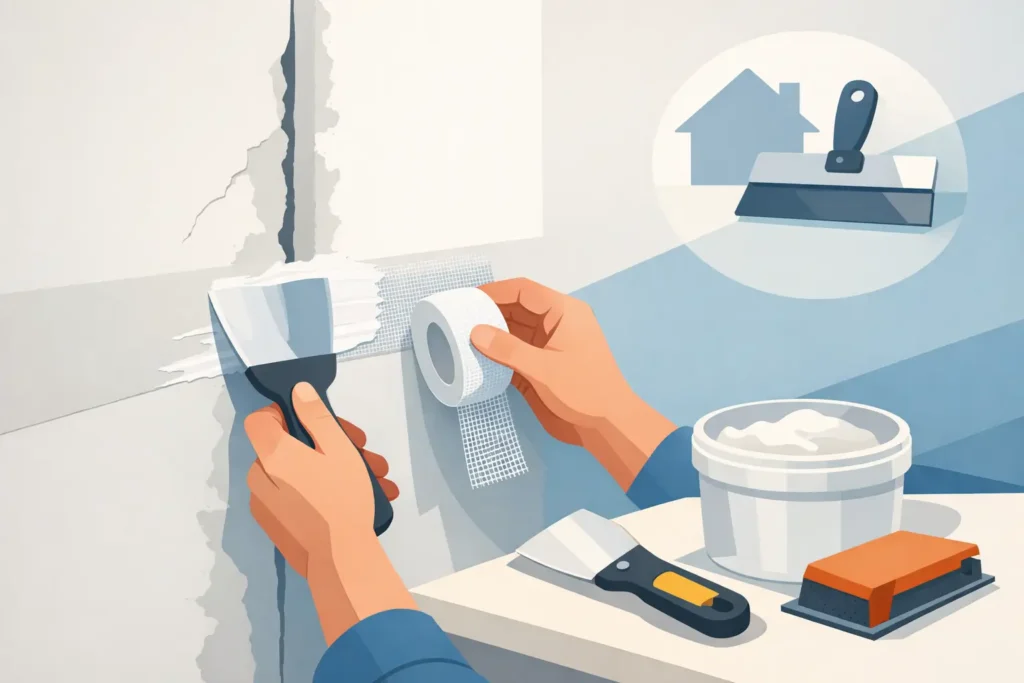
A crack running along a drywall seam is more than a cosmetic nuisance. It can make an otherwise clean room look neglected, and if it returns after a quick patch, it usually means the original repair never addressed the cause. Knowing how to repair drywall seams correctly starts with identifying whether you are dealing with failed tape, loose drywall, moisture damage, or movement in the framing.
A durable repair takes more than spreading joint compound over the crack. The damaged material has to come out, the wall needs to be stable, and the new tape and compound need time to dry between coats. With the right preparation, homeowners can handle many small seam repairs. For wide cracks, recurring damage, high ceilings, or signs of water intrusion, professional drywall repair is often the more dependable choice.
Why Drywall Seams Crack or Separate
Drywall panels meet at seams, where paper or fiberglass tape and joint compound create one continuous-looking surface. When that system loses its bond, the tape may bubble, lift, split down the center, or leave a visible ridge beneath the paint.
Normal settling can cause small hairline cracks, especially in newer homes or homes exposed to Oklahoma’s shifting weather. A single thin crack may be manageable with a careful repair. But a seam that opens repeatedly can point to movement behind the wall, loose fasteners, truss uplift, or framing that was not properly secured.
Moisture is another common issue. A roof leak, plumbing leak, high indoor humidity, or past water damage can soften the drywall paper and break down the bond between tape and compound. Do not cover a stained, soft, or damp seam until the moisture source has been found and corrected. Otherwise, the new finish will fail again.
What You Need Before Repairing a Drywall Seam
For a standard wall seam repair, gather a utility knife, 6-inch and 10- or 12-inch drywall knives, a sanding sponge or fine-grit sandpaper, drywall tape, all-purpose or setting-type joint compound, a dust mask, and primer. Keep a drop cloth beneath the work area. Drywall dust travels farther than most people expect, particularly in furnished rooms.
Paper tape is often the best choice for flat seams because it creates a strong bond when embedded properly in joint compound. Fiberglass mesh tape is easier to apply and can work well for small repairs, but it should generally be covered with setting-type compound to reduce the risk of future cracking. For a seam that has already failed, paper tape is usually the more reliable option.
If the damaged seam is on a ceiling, near a corner, or more than a few feet long, the repair becomes harder to blend. Wider knives and several thin coats matter even more in those areas.
How to Repair Drywall Seams Step by Step
Remove all loose tape and weak compound
Start by cutting around the damaged area with a sharp utility knife. Pull away loose tape, flaking compound, and any soft drywall paper. Keep going until you reach material that is firmly attached to the wall. Leaving even a small section of loose tape underneath a new repair can cause bubbling later.
Do not gouge deeply into the drywall face if you can avoid it. The goal is to remove failed material, not create a larger repair than necessary. If the paper surface tears, trim away only the loose fibers and seal exposed brown paper with a drywall primer or sealer before applying compound. Unsealed paper can blister when it gets wet from joint compound.
Check that the drywall is firmly attached
Before taping, press gently along both sides of the seam. If the drywall moves, add drywall screws into the framing to pull the panel tight. Place screws several inches from the seam, not directly through the damaged joint. Drive them just below the surface without breaking the paper face.
This step is easy to skip, but it is one of the main differences between a temporary patch and a lasting repair. Joint compound cannot hold two moving drywall panels together. The panels need to be secure first.
If the seam is wide, the boards are visibly misaligned, or you cannot locate framing to secure loose drywall, stop before applying tape. Those conditions may require a more involved repair than a surface patch can solve.
Apply a thin bed of joint compound
Use a 6-inch drywall knife to spread a smooth, even layer of joint compound over the seam. The coat should be wide enough to fully support the tape, but it does not need to be thick. Too much compound below the tape creates a raised seam that will require extra sanding and wider finish coats.
Press paper tape into the wet compound, centering it over the joint. Hold the tape taut as you work down the seam. Then draw the drywall knife over it at a slight angle, starting from the center and working outward. This pushes out air pockets and excess compound while leaving enough material behind the tape for a solid bond.
A few small ripples can be corrected immediately. Large bubbles or sections that will not lie flat should be lifted and re-bedded before the compound dries.
Build the repair with thin, wider coats
Let the taped seam dry completely. Drying time depends on the product, room temperature, and humidity. Rushing to the next coat can trap moisture and lead to cracks, soft spots, or poor adhesion.
For the second coat, use a 10- or 12-inch knife and feather compound beyond both edges of the taped area. Keep the center filled while making the outer edges thin. A well-finished seam is wide enough that the transition disappears under normal lighting.
After that coat dries, lightly sand off ridges, knife lines, and bumps. Do not sand into the tape. Apply a final thin coat, extending it slightly wider if needed. The final coat is for leveling and blending, not adding bulk. Let it dry fully, then sand with a light touch until the wall feels smooth.
Prime before painting
Fresh joint compound is more porous than painted drywall. If you paint directly over the repair, the patched area may show as a dull spot or flash differently in certain light. Apply a quality drywall primer over the repaired seam first, then repaint the area.
For the best color match, it is often worth painting the entire wall from corner to corner rather than touching up only the repaired strip. This is especially true with darker colors, satin finishes, and walls that receive strong window light.
Mistakes That Cause Seam Repairs to Fail
The most common mistake is applying compound over loose tape. It may look better for a short time, but the tape underneath continues to separate. Removing failed material first takes longer, yet it prevents the same repair from coming back.
Another problem is using coats that are too thick. Thick compound shrinks as it dries, takes longer to cure, and is much harder to sand smooth. Three thin coats generally produce a cleaner result than one heavy application.
Poor sanding can also create trouble. Aggressive sanding exposes tape, tears drywall paper, and leaves a low spot that becomes visible after painting. Sand only enough to remove high areas, then use a work light held at an angle to check for shadows, ridges, and uneven edges.
Finally, do not ignore a recurring crack. If a seam opens again in the same place, there may be structural movement, seasonal framing movement, a leaking pipe, roof damage, or an improperly fastened panel. Repeating the finish work without correcting the underlying issue only delays the next repair.
When to Call a Drywall Professional
A small section of lifted tape on a stable wall is often a reasonable DIY project. It becomes wise to bring in a professional when the seam runs across a ceiling, spans a long wall, returns after previous repairs, or appears with staining and soft drywall. Commercial properties and rental units may also need a faster, cleaner repair that limits disruption to tenants, staff, or customers.
Experienced drywall crews can identify whether the problem is limited to the finish or connected to framing and moisture. They also have the tools to feather broad repairs, match existing texture, control dust, and leave the surface ready for paint. For homeowners and property managers in the Oklahoma City area, KCS Drywall provides repair work focused on clean execution and durable results.
A repaired seam should disappear once it is primed and painted. Take the time to stabilize the wall, use the right tape, and let each coat dry. That patient approach is what keeps a small drywall crack from becoming a repair you have to make twice.