
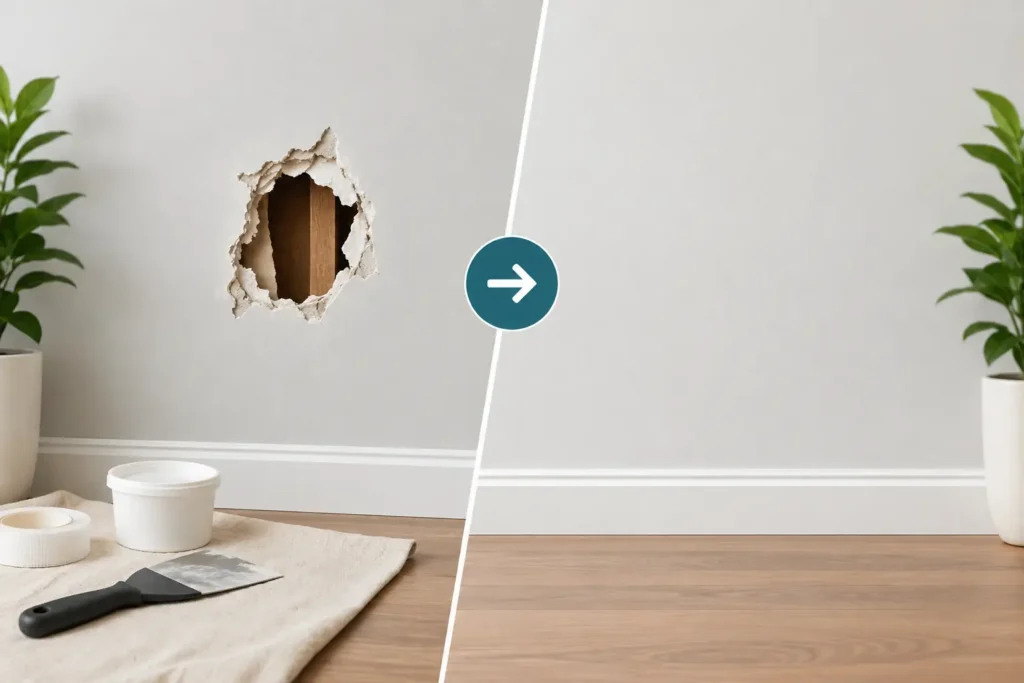
A convincing drywall hole repair before after result is not just a hole covered with new material. It is a wall that looks flat in daylight, feels smooth to the touch, matches the surrounding texture, and disappears once it is painted. That level of finish takes more than a quick patch kit, especially when the damage is in a noticeable spot.
Whether a door knob punched through a bedroom wall, furniture left a dent during a move, or a plumbing repair required access behind the drywall, the goal is the same: restore a clean, durable surface without leaving a visible reminder of the damage.
What a Quality Drywall Repair Looks Like Before and After
Before repair, drywall damage often looks worse than the hole itself. There may be cracked paper around the opening, crushed gypsum, loose edges, torn texture, or stains that show through paint. A small impact can also create a shallow dent around the damaged area, which makes a rushed repair stand out later.
After professional repair, the wall should have a consistent plane from several feet away and up close. The patch should not create a raised square, a visible ridge, or a different texture pattern. Once primed and painted, it should blend with the rest of the room rather than draw attention every time light hits the wall at an angle.
The difference is usually most obvious after painting. Fresh paint can make uneven mud work, poor sanding, and mismatched texture more visible than they were before. That is why the repair process has to account for the final finish from the beginning, not treat paint as a way to hide mistakes.
The Repair Method Depends on the Size of the Hole
There is no one repair method that fits every damaged wall. The right approach depends on the size of the opening, where it is located, the condition of the surrounding drywall, and whether the wall has a smooth or textured finish.
Small nail holes, dents, and surface damage
Small holes from picture hangers or minor dents can often be filled with joint compound or spackle. The key is using thin applications, allowing proper drying time, and sanding lightly between coats. Filling too much material into a small hole can leave a bump that becomes obvious after paint.
For a few isolated nail holes, this may be a reasonable homeowner project. When there are many holes across a room, walls with sheen paint, or a deadline tied to a sale or move-out inspection, professional finishing can provide a more consistent result.
Medium holes from door knobs or impacts
A hole larger than a few inches needs support behind the patch. Without backing, the new drywall piece can shift, crack, or separate from the joint compound over time. A proper repair commonly includes securing backing material inside the opening, fitting a drywall patch, taping the seams, and applying several coats of compound that extend beyond the patch.
That wider feathering matters. The repaired area must transition gradually into the existing wall so the patch does not look like a flat island in the middle of the surface.
Large openings and damaged sections
Large holes, water-damaged drywall, or openings cut for electrical and plumbing work may require removing a larger section of wall. Cutting back to solid material and framing support creates a cleaner, stronger repair than trying to save crumbling drywall edges.
This is also the point where the source of damage should be addressed. Replacing drywall before confirming a leak is fixed or a recurring moisture issue is resolved can lead to another repair sooner than expected. In Oklahoma homes, storm-related leaks, plumbing failures, and foundation movement can all affect interior wall finishes, so the wall should be evaluated before it is closed back up.
Why Some Drywall Patches Still Show After Painting
Most disappointing drywall hole repair before and after photos have the same underlying problems: insufficient support, rushed drying, narrow feathering, or texture that does not match the wall. The patch may look acceptable before paint, then become visible under normal room lighting.
Joint compound shrinks as it dries. A repair that receives only one heavy coat can develop a shallow depression or crack. Multiple thin coats take more time, but they produce a flatter surface and reduce the chance that the repair will telegraph through the paint.
Sanding is another balance. Too little sanding leaves ridges and trowel marks. Too much sanding can damage the drywall paper or create a low spot around the patch. Experienced finishers use broad knives, controlled sanding, and side lighting to catch imperfections that are easy to miss straight on.
Texture presents its own challenge. Orange peel, knockdown, hand texture, and smooth walls all require different techniques. Even a properly patched wall can look unfinished if the repaired area has a different texture size or pattern than the rest of the room. Matching texture is often where professional experience makes the biggest visual difference.
Paint Is Part of the Finished Repair
A repaired wall should be primed before painting, particularly where new joint compound has been applied. Primer helps create a uniform surface so the repair does not absorb paint differently than the surrounding wall. Skipping this step can leave dull spots, flashing, or a patch that is visible only when sunlight comes through the window.
Color matching also depends on the condition of the existing paint. Even when the original paint color is known, walls can fade, yellow slightly, or collect wear over time. Spot painting may work in some cases, but painting from corner to corner on the repaired wall often delivers a cleaner result. The best choice depends on the age of the paint, its sheen, and how noticeable the area is.
When It Makes Sense to Call a Professional
A small pinhole in a low-traffic room may not require a contractor. Larger repairs deserve a closer look, especially if the hole is near a corner, electrical outlet, door frame, ceiling, or textured finish. These areas are less forgiving because they are more visible and may involve framing, wiring, or complicated blending.
Professional repair is also a practical choice when several rooms need attention, when a property is being prepared for sale or new tenants, or when commercial spaces need clean, efficient work with minimal disruption. A dependable drywall crew can assess the damage, explain the repair plan, protect the work area, and leave the surface ready for paint.
For homeowners and property managers in the Oklahoma City metro, KCS Drywall focuses on the details that create a true before-and-after transformation: solid patching, smooth tape and texture work, clean jobsites, and clear communication from quote to completion.
How to Help Your Repair Blend In
Before work begins, remove wall décor and move furniture away from the repair area when possible. This gives the crew room to protect floors and work cleanly. If you have leftover paint, share it with the contractor, but understand that the existing wall may still need blending or repainting for a uniform appearance.
After the repair is complete, give fresh compound and paint the time they need to cure. Avoid pressing furniture against the wall, rehanging heavy items immediately, or washing the repaired area too soon. If the original damage came from a door knob, furniture impact, or a frequently used space, consider adding a door stop or changing the layout to prevent a repeat problem.
A finished wall should not merely cover the damage. It should restore the room’s clean, well-kept appearance and give you confidence that the repair was built to hold up.