
A dent beside the hallway light switch or a nail-sized hole in a bedroom wall can make an otherwise well-kept home look neglected. A drywall repair kit review is useful because these kits can be a practical fix for minor damage, but the wrong product or technique can leave behind a visible patch, rough texture, or a repair that cracks again within months.
For Oklahoma homeowners and property managers, the best choice depends less on the label and more on the size, location, and cause of the damage. A small kit can save time on a simple touch-up. Larger holes, recurring cracks, water damage, and textured walls usually need a more complete repair process to look right.
What Most Drywall Repair Kits Include
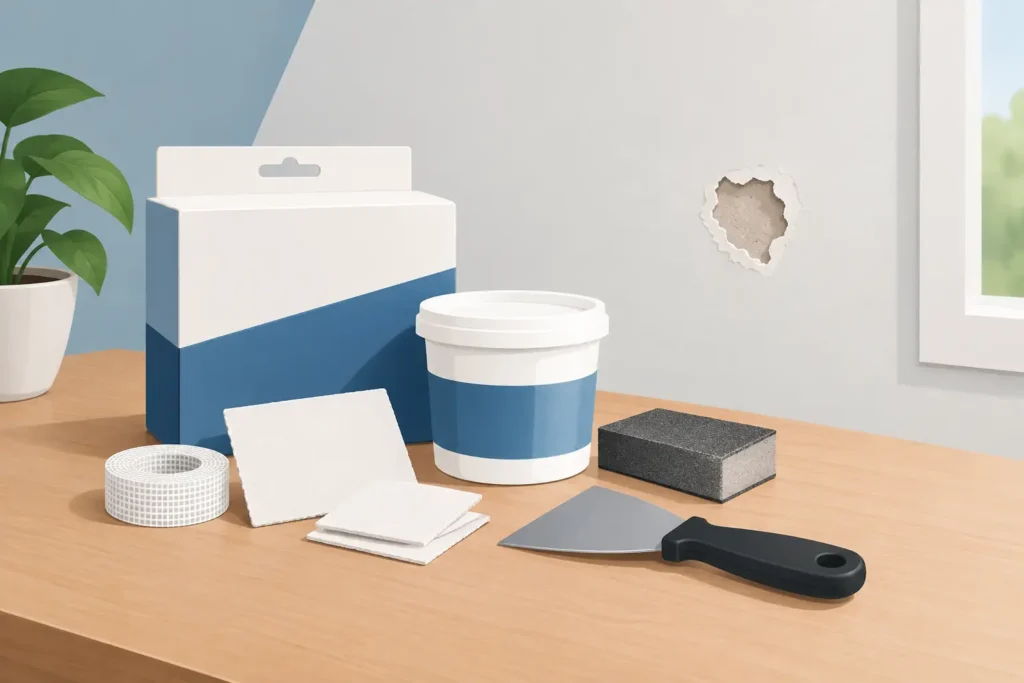
Most store-bought kits are built for convenience. They generally include lightweight spackle or joint compound, a small putty knife, sandpaper, and sometimes a self-adhesive mesh patch. Some kits also include a sanding block, a primer-like finishing compound, or a small touch-up tool.
The appeal is clear: one package provides the basics for filling a small hole without making multiple trips to the hardware store. For a picture-hanger hole, shallow ding, or small gouge, that can be enough. The materials are simple to use, dry relatively quickly, and do not require advanced tools.
The limitation is that a kit cannot replace proper drywall backing, taping, multiple finish coats, or texture matching. The packaging may promise an easy repair, but a clean result still depends on surface preparation and patience between coats.
Drywall Repair Kit Review: What Works Best
The most reliable kits are the ones that match the repair method to the damage. There is no single kit that performs equally well on every wall issue.
Lightweight spackle kits for nail holes and dents
For pinholes, nail holes, and shallow dents, lightweight spackle kits are usually the best option. The material is easy to spread, dries fast, and sands with little effort. It is especially useful before repainting a room or preparing a rental property between tenants.
The trade-off is durability. Lightweight products are not designed to fill deep voids in one heavy application. Packing too much spackle into a deep hole can lead to shrinkage, cracking, or a soft spot that dents easily. For deeper damage, apply thin layers and allow each layer to dry fully.
Mesh patch kits for small holes
Self-adhesive mesh patches are commonly sold for holes roughly the size of a doorknob or smaller. They provide a surface for joint compound to bridge across the opening. When applied correctly, they can be a reasonable solution for a clean, stable wall with a small puncture.
These kits are less forgiving than they appear. The patch creates a slightly raised area, so the joint compound must be feathered well beyond the patch edges. If the compound is applied only over the mesh, the repair will often show as a square outline after painting. A wider putty knife and two or three thin coats make a major difference.
All-in-one repair compounds
Some kits use a thicker paste advertised as a filler, primer, and finishing coat in one. These can be convenient for very minor cosmetic repairs, especially where speed matters more than a furniture-grade finish.
For an area that catches direct sunlight or sits at eye level, all-in-one compounds can be disappointing. They may dry unevenly, leave a different surface sheen, or require more sanding than expected. A separate primer coat before painting remains the safer approach for a consistent finish.
Texture repair kits
Texture kits are designed to imitate orange peel, knockdown, or other common wall finishes. They can help after a patch is repaired and sanded, but they require careful testing. Texture that is too heavy, too light, or sprayed at the wrong angle can make the repaired section stand out more than a smooth patch would.
Before applying texture to the wall, test the product on scrap cardboard. Compare the result after it dries, not while it is still wet. Texture changes as it cures, and paint can further change how the surface appears.
When a DIY Kit Is a Good Choice
A repair kit is worth considering when the drywall itself is sound and the damage is limited to a small area. That includes nail holes, screw holes, minor dents, shallow scrapes, and small punctures away from corners, seams, and electrical boxes.
It also works best when the wall has a smooth finish and matching paint is available. Even a well-filled patch can look obvious if the paint color is slightly off or the existing wall has faded over time. Painting from corner to corner is often the most dependable way to blend a repair into the room.
Take the time to remove loose paper and dust before applying compound. Build the repair in thin coats, sand lightly, and run your hand over the surface before priming. Your fingertips will often find a raised edge that your eyes miss.
When a Repair Kit Is Not Enough
A kit is not the right answer when the drywall has structural damage or the problem has an underlying cause. A larger hole may need a new piece of drywall supported by wood backing or proper framing. Cracks at seams can point to movement, poor taping, or settling. Repeated cracks should not simply be filled over.
Water stains, soft drywall, mold concerns, and bubbling paper require attention before cosmetic repair begins. If moisture is still entering from a roof leak, plumbing issue, window, or exterior opening, the new patch will fail just like the old wall did. The source of the moisture needs to be corrected first.
Corners, ceiling damage, and walls with heavy texture also deserve extra care. These repairs require more than filler. They often involve replacing damaged corner bead, reinforcing joints, blending texture, and matching paint under changing light conditions.
For commercial properties, a visible patch can affect the appearance of an office, retail space, or rental unit. Quick repairs may be appropriate in a utility room, but high-traffic customer areas usually benefit from professional finishing and a clean jobsite process.
The Finish Is Where Most DIY Repairs Fall Short
The patching material is only one part of a successful drywall repair. The finish determines whether anyone notices the work later.
After the final coat dries, sand with a light touch. Aggressive sanding can expose the mesh patch, damage the drywall face paper, or create a depression around the repair. Remove all dust before priming. Skipping primer is a common mistake because repaired areas absorb paint differently than the surrounding wall.
Use a quality primer on the repaired area, then inspect it from multiple angles. Light coming through a window or across a hallway can reveal ridges that disappear under overhead lighting. If the patch is visible before paint, it will usually remain visible after paint.
Texture and paint sheen matter just as much. Flat paint hides small imperfections better than satin or semi-gloss, while glossier finishes reflect light and make uneven work more noticeable. In kitchens, bathrooms, and trim-adjacent areas where sheen is often higher, professional-level surface preparation matters even more.
A Practical Standard for Choosing Your Repair
Before buying a kit, measure the damage and look for the reason it happened. If it is a simple, isolated blemish, a lightweight spackle kit or small mesh patch can be a cost-effective solution. Buy enough time for proper drying, sanding, priming, and paint blending rather than treating the repair as a 15-minute task.
If the hole is larger than a small patch, the wall feels soft, the crack returns, or the texture must match closely, it is usually smarter to bring in a drywall professional. KCS Drywall sees the difference every day: the repair itself may be quick, but a durable, nearly invisible finish comes from proper preparation and skilled finishing.
A good drywall repair should disappear into the wall, not become the next item on your to-do list.