
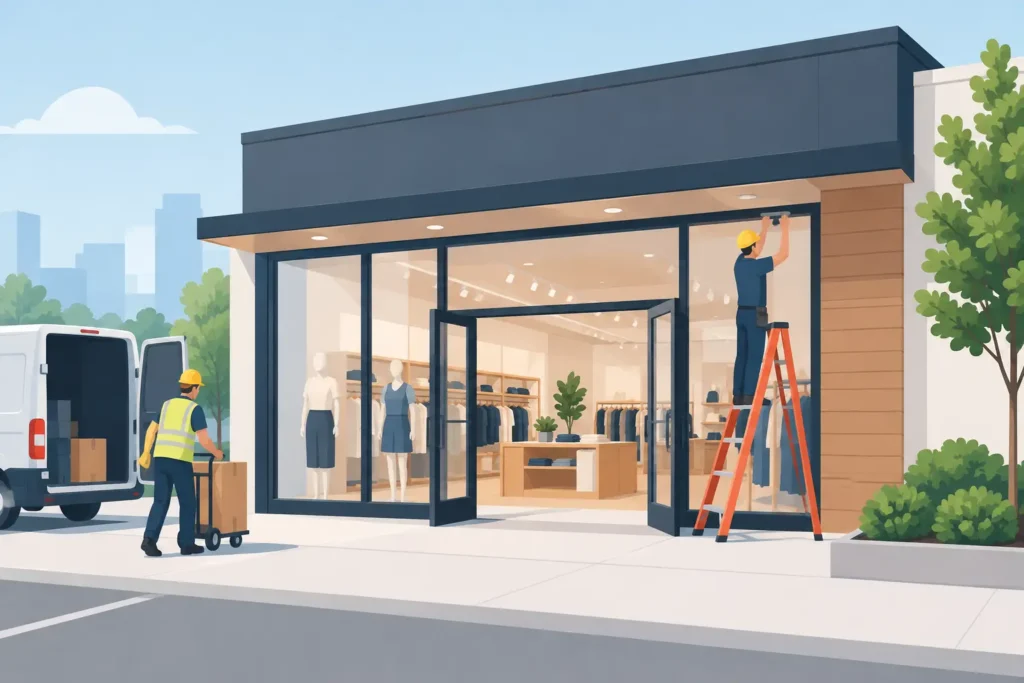
An empty retail suite can look simple: four walls, a concrete floor, and a front door. But a strong retail buildout example shows how much coordinated work happens between receiving the keys and welcoming the first customer. The layout has to support sales, the finishes have to represent the brand, and every trade has to work to a schedule that respects the opening date.
For Oklahoma property owners, tenants, builders, and managers, the goal is not just to make a space look finished. It is to create a durable, professional environment that is ready for daily traffic, employees, merchandise, inspections, and customers from day one.
What a Retail Buildout Includes
A retail buildout is the construction work that turns a commercial shell or existing suite into a usable store. The scope can be modest, such as new paint, repaired drywall, and a few fitting rooms. It can also involve new walls, upgraded lighting, plumbing, flooring, ceilings, doors, accessibility updates, and specialty displays.
The right scope depends on the condition of the space, the business type, the lease requirements, and local code. A boutique may need carefully finished fitting rooms and feature walls. A salon may need plumbing, moisture-resistant materials, and private work areas. A retail showroom may need open sightlines, durable wall surfaces, and enough backing for heavy displays.
That is why planning the work in the right order matters. A beautiful paint job will not stay beautiful if wall repairs, electrical cuts, or fixture installation are still ahead.
Retail Buildout Example: From Shell to Storefront
Consider a 1,800-square-foot Oklahoma City retail suite being prepared for a locally owned apparel and gift shop. The suite was previously occupied, but the old tenant had removed its fixtures and left behind scuffed walls, mismatched paint, damaged drywall, and an awkward layout that did not fit the new store’s needs.
The owner wants an inviting space with a front checkout counter, two fitting rooms, a small stockroom, and open display areas along the perimeter walls. The target opening date is eight weeks away. This is a realistic project, but only when the scope is clear before crews begin work.
Step 1: Walk the Space and Define the Scope
The project starts with a detailed walkthrough. The contractor, owner, and any designer or property representative review the suite together. They identify damaged drywall, existing wall locations, door swings, ceiling conditions, electrical outlets, and areas where shelves or wall-mounted displays will be installed.
In this example, the existing stockroom is too large and cuts into valuable sales space. The plan calls for removing one nonstructural partition, building two fitting rooms near the back of the suite, repairing damaged corners, and creating a reinforced feature wall behind the checkout counter.
This is also the time to confirm what the lease requires. Some landlords require approved plans, specified wall colors, certificates of insurance, or coordination with their preferred building hours. Ignoring those requirements can create avoidable delays after the work is already scheduled.
Step 2: Frame the New Layout Before Finishes Begin
Once the plan is approved, framing establishes the new footprint. Metal studs are often a practical choice in commercial interiors because they are straight, durable, and compatible with many retail buildout designs. In this case, the crew frames the fitting rooms, adjusts the stockroom wall, and adds blocking where the owner plans to mount shelves, mirrors, and signage.
Blocking is easy to overlook, but it makes a difference. Heavy shelving attached only to drywall can loosen over time, especially in a store where displays are frequently rearranged. Adding the right support during framing is far more efficient than opening finished walls later.
Before drywall goes up, electrical and low-voltage work should be coordinated. The checkout area may need outlets for a point-of-sale system, receipt printer, security equipment, and decorative lighting. Fitting rooms may need lighting and switches. If the store is adding speakers, cameras, or internet equipment, those details belong in the plan early.
Step 3: Install Drywall and Finish It for Retail Traffic
After the walls are framed and rough-in work is complete, drywall installation begins. For a customer-facing store, clean wall lines and smooth finishes are not minor details. They affect how paint looks under retail lighting, how merchandise photographs, and how customers perceive the business.
In this example, drywall is installed in the fitting rooms and at the revised stockroom wall. Existing wall damage is repaired throughout the sales floor, including cracked seams, dented corners, and old anchor holes from the previous tenant’s displays. Corner bead is replaced where needed so the finished corners look straight and hold up better against carts, boxes, and everyday traffic.
The crew tapes, muds, sands, and textures the repaired areas to blend with the surrounding surfaces. Depending on the store’s design, a smooth wall finish may be preferred for a modern look, while a light texture may better match the existing suite. There is no single best option. The priority is a consistent finish that looks intentional from one wall to the next.
Step 4: Paint, Fixtures, and Final Details
Painting comes after drywall repairs are fully prepared. The owner chooses a warm neutral color for most walls and a darker accent color behind the checkout counter. The paint scheme helps guide customers through the space without overwhelming the merchandise.
Commercial paint should be selected for the way the space will be used, not just for its color. High-traffic areas, fitting rooms, and stockroom doors benefit from durable coatings that can be cleaned without showing every mark. A less expensive paint may reduce the upfront budget, but frequent touch-ups can cost more in time and appearance after opening.
Once the paint is complete, the store can install shelving, mirrors, counters, signage, racks, and displays. This stage requires care. Contractors should protect newly finished walls while fixtures are being moved into place, and installers should use the planned blocking locations rather than guessing where support exists behind the drywall.
Step 5: Complete a Final Walkthrough Before Opening
The final walkthrough is where small issues are caught before they become opening-day problems. The owner and contractor inspect repaired walls, paint coverage, door operation, trim, fitting rooms, and visible transitions between old and new work.
In this retail buildout example, the punch list includes a small paint touch-up near the stockroom door, one adjusted fitting-room latch, and a final cleanup of drywall dust from the window ledges. These details may seem minor, but they affect the first impression customers receive when they walk in.
What Can Change the Cost and Schedule
Retail projects rarely follow a one-size-fits-all budget. The condition of the existing space is often the biggest variable. A clean shell with basic utilities may move quickly. A former tenant space with hidden water damage, uneven walls, outdated wiring, or unapproved alterations can require more time and labor.
Material selections also affect the schedule. Specialty fixtures, custom doors, decorative wall panels, and certain flooring products may have longer lead times than standard materials. If the opening date is fixed, make those decisions early and order long-lead items before demolition or framing begins.
Permitting and inspections can be another factor. Work involving new electrical, plumbing, mechanical systems, or structural changes may require permits and inspection coordination. A qualified contractor helps identify these needs upfront instead of treating them as a surprise midway through the job.
What to Expect From a Dependable Buildout Partner
A retail buildout needs more than skilled labor. It needs clear communication, reliable scheduling, and crews that respect an active commercial property. Property managers need to know when work will occur. Business owners need prompt answers when a decision affects the budget or opening date. Other trades need a clean, organized jobsite so they can complete their work without unnecessary rework.
KCS Drywall approaches commercial interior work with that practical mindset. Professional framing, drywall repair, finishing, texture, and paint preparation all have to come together cleanly if the final space is going to look right and perform well.
Before signing off on your own project, walk the space with the customer experience in mind. Look at the walls from the entrance, picture where merchandise will hang, test the doors, and notice the details a customer will see while waiting at the counter. Those few extra minutes can help turn a finished suite into a store that feels ready for business.