
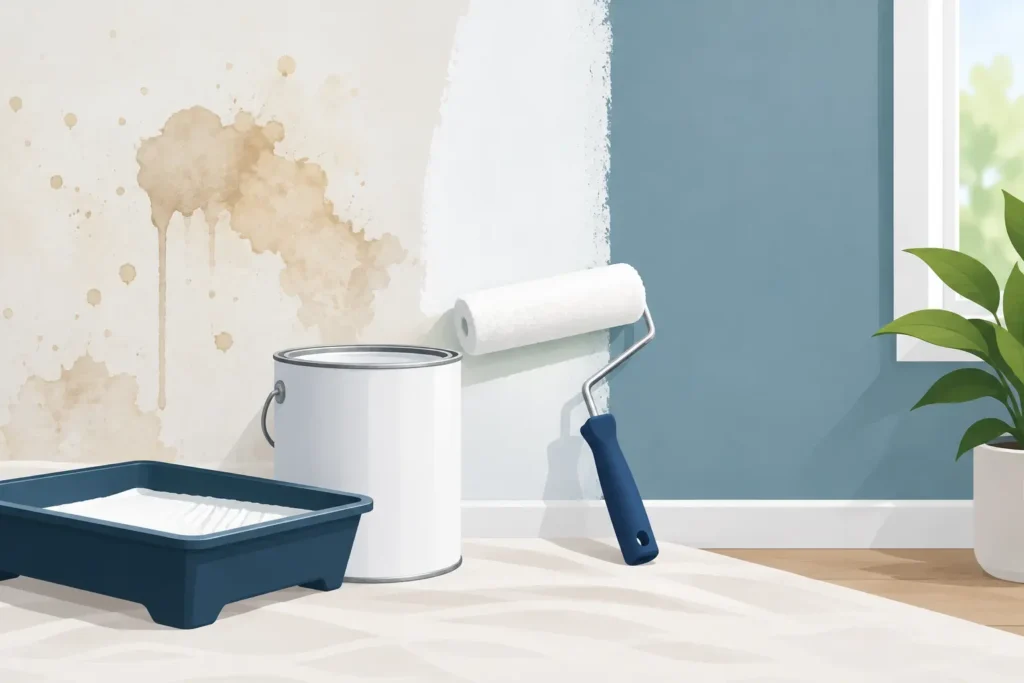
A brown ring on a ceiling can reappear through a fresh coat of paint within days. So can smoke discoloration, knot bleed, and grease near a kitchen range. This stain blocking primer guide explains how to stop those marks at the source, choose the right product, and get a finish that stays clean after the paint dries.
Why regular paint does not cover every stain
Paint adds color, but it is not always designed to seal contamination. When moisture, tannins, smoke residue, oils, or dyes remain in the surface, they can migrate into the new paint film. The result is a stain that slowly returns, sometimes with a yellow or brown cast that is even more noticeable against white paint.
A stain-blocking primer creates a barrier between the surface and the finish coat. It also helps paint bond more evenly on repaired drywall, patched texture, bare wood, and previously glossy surfaces. That extra step may feel unnecessary when the stain looks minor, but repainting a ceiling twice costs more time and material than priming it correctly once.
Not every discoloration needs the strongest primer available. The right choice depends on what caused the stain, whether the surface is interior or exterior, and whether the underlying problem has been repaired.
Stain blocking primer guide: match the primer to the problem
The label matters, but the stain matters more. Different primers handle different contaminants, and a general-purpose wall primer may not perform well on severe stains.
Water stains from roof or plumbing leaks
Water stains are common on ceilings and upper walls, especially after a roof issue, flashing failure, pipe leak, or appliance overflow. Before priming, confirm the area is fully dry and the leak has been fixed. Primer can hide the evidence, but it cannot stop an active moisture problem.
For a small, dry water stain, a quality stain-blocking primer is often enough. Oil-based products are a dependable choice for many water marks because they seal the dried minerals and discoloration that latex paint may allow through. For heavily stained ceilings or repeated bleed-through, shellac-based primer usually provides the strongest block.
If the drywall is soft, sagging, crumbling, or mold-damaged, replacement may be the better repair. A sound, dry surface is essential for a durable finish.
Smoke, nicotine, and fire-related residue
Smoke damage is more than a color problem. Residue can carry odor and interfere with paint adhesion. Wash the surface first using an appropriate cleaner, rinse as needed, and allow it to dry. Painting over soot without cleaning it can leave a weak, dirty layer under the new coating.
Shellac-based stain-blocking primer is often the best option for strong smoke and nicotine stains because it seals persistent discoloration and odors effectively. It dries quickly, but it has a strong smell and requires the right solvent for cleanup. Good ventilation and proper protective equipment are necessary.
For widespread fire or smoke damage, the job may call for professional cleaning, repairs, and a full primer system rather than a quick spot treatment. Hidden residue in texture, insulation, or framing can continue to affect the space after walls are painted.
Tannin bleed from wood, knots, and exterior trim
Wood naturally contains tannins, which can create reddish-brown stains beneath paint. Cedar, redwood, knots in pine, and weathered exterior trim are frequent trouble spots. Water-based paint alone can pull those tannins to the surface, especially during Oklahoma heat and humidity changes.
Oil-based or shellac-based primers are commonly used to control tannin bleed. Shellac is especially useful on stubborn knots and localized spots. On large exterior projects, use a primer rated for exterior exposure and compatible with the finish paint. A primer that performs well indoors is not automatically the right choice for siding, fascia, or trim.
Grease, crayons, ink, and household marks
Kitchen walls, utility rooms, rental properties, and commercial spaces often have grease or mystery stains that are harder to identify. Clean first. Degrease kitchen surfaces thoroughly, rinse away cleaner residue, and let the wall dry before applying primer.
Oil-based stain blockers can work well for many greasy marks. Shellac is typically the stronger option for permanent marker, ink, lipstick, or stains that continue to bleed through after one primed coat. When in doubt, test a small area, let it dry, apply finish paint, and check the result the next day.
Prepare the surface before you prime
Primer performs best when the surface is clean, dry, and stable. Start by identifying and correcting the cause of the stain. That may mean repairing a roof leak, sealing a plumbing issue, improving ventilation, or replacing damaged drywall.
Next, remove loose paint and damaged joint compound. Sand rough edges around repairs, dust the surface, and clean off residue. Glossy painted walls should be lightly scuff-sanded so the primer can grip properly. If a wall has mildew, clean and treat it safely before painting, then make sure the moisture source has been addressed.
Fresh drywall deserves a separate note. New drywall and joint compound need a drywall primer or PVA primer to create an even surface for paint. These products are excellent for new construction and repairs, but they are not a substitute for a true stain-blocking primer when contamination is present. On a repaired area with an old water stain, spot-prime the stain with a blocking primer, then use the appropriate drywall primer as needed to even out the whole surface.
Apply enough primer to do the job
Spot-priming is efficient, but only if the primer extends beyond the visible stain. Cover the stain completely and feather the product slightly past its edges. Use a brush for small marks and a roller for larger ceiling areas. Apply an even coat rather than flooding the surface, which can create drips and uneven texture.
Let the primer dry for the full time listed on the product instructions. Then inspect the area under good lighting. If the stain is still visible or seems to be returning, apply a second coat before painting. Do not assume finish paint will solve a failed first coat of primer.
Once the primer has cured as directed, apply two finish coats for consistent color and sheen. Ceiling paints and flat wall paints can disguise small surface variations, while satin and semi-gloss finishes make preparation errors more visible. Bathrooms, kitchens, hallways, and commercial interiors may benefit from more washable finishes, but the surface still needs proper priming first.
Common mistakes that cause stains to come back
The most common mistake is treating a stain as a paint problem rather than a surface problem. If a roof leak or plumbing leak is still active, the stain will return and the drywall may continue to deteriorate.
Another frequent issue is using a water-based general primer on a stain that needs oil or shellac. Water-based stain blockers have improved and work well for many light stains, but severe smoke, heavy tannin bleed, and stubborn water marks may need a stronger sealer. The trade-off is that oil and shellac products usually have stronger odors, require more careful cleanup, and demand better ventilation.
Rushing between coats also creates avoidable problems. A primer that is dry to the touch may not be ready for paint, particularly in cool or humid conditions. Follow the recoat window on the label, and keep the room at a suitable temperature while the coatings cure.
When professional drywall and painting help makes sense
A single stain on a sound wall can be a manageable project. Larger stains, damaged ceilings, recurring leaks, smoke damage, or texture repairs are different. These situations require a careful inspection so the repair addresses both the visible finish and the condition behind it.
KCS Drywall helps Oklahoma City area property owners repair damaged drywall, match texture, prime problem areas, and repaint surfaces with a clean, durable finish. For homes, rental properties, and commercial spaces, professional preparation helps prevent a small stain from turning into a repeat repair.
A clean paint job begins before the first finish coat goes on. Fix the cause, prepare the surface, and use a primer built for the stain in front of you. That is the practical path to walls and ceilings that look finished for the long haul.
https://addlinks.pro/NyvbR