
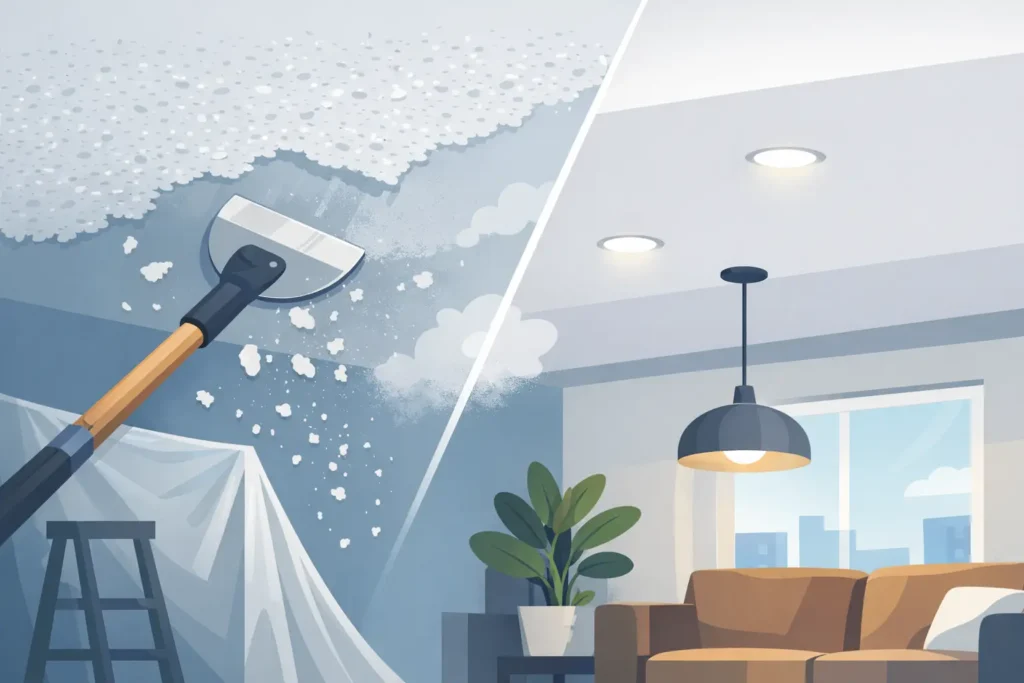
A textured ceiling can make an otherwise updated room feel stuck in another decade. It also catches dust, complicates paint touch-ups, and can make a ceiling look darker than it is. Acoustic ceiling texture removal creates a smoother, cleaner surface, but the work involves more than simply wetting the texture and scraping it away.
The condition of the existing ceiling, the age of the home, and the finish you want afterward all affect the scope of the job. A professional approach protects the home, limits mess, and leaves behind a ceiling that is ready for paint rather than a patchwork of gouges and repairs.
What Is Acoustic Ceiling Texture?
Acoustic ceiling texture is a sprayed or hand-applied finish used to soften sound and hide minor imperfections in drywall work. Many homeowners know it as popcorn texture, although acoustic finishes can vary from fine spray patterns to heavier, cottage-cheese-like surfaces.
It was especially common in homes built or remodeled from the 1950s through the 1980s. Builders often used it because it was fast to apply and forgiving over uneven framing, drywall seams, or small surface flaws. That convenience can become a challenge years later when an owner wants a flat, modern ceiling.
Not every textured ceiling needs to be removed. A well-maintained texture can be painted and kept in service. Removal makes the most sense when the finish is dated, damaged by leaks, difficult to clean, or inconsistent after previous repairs. It can also be a worthwhile part of a larger kitchen, bathroom, or whole-home remodel.
Start With Safety Before Texture Removal
The first question should not be how fast the texture can come down. It should be whether the material can be safely disturbed.
Some older acoustic textures may contain asbestos. A visual inspection cannot confirm whether asbestos is present, and scraping, sanding, or drilling into a contaminated texture can release hazardous fibers. Homes built before the 1980s deserve particular caution, especially if the ceiling has never been updated.
Before acoustic ceiling texture removal begins, have a qualified professional collect a sample for laboratory testing when the home’s age or material history raises concern. If asbestos is found, removal must be handled through the proper licensed abatement process. Do not attempt to sand, scrape, or cover a potentially hazardous ceiling until you know what it contains.
Even when testing shows the material is clear, ceiling removal is dusty, wet, and labor-intensive work. Proper containment, floor protection, ventilation planning, and cleanup are part of doing it right.
The Professional Acoustic Ceiling Texture Removal Process
The best method depends on the texture, the paint covering it, and the condition of the drywall underneath. In many cases, the texture is lightly wetted in manageable sections and carefully scraped away. Moisture helps soften the material so it releases with less damage to the drywall face paper.
Painted texture is often more difficult. A heavy coat of paint can keep water from penetrating the finish, making scraping less effective. In that situation, the contractor may need to skim coat over the existing texture, remove damaged areas selectively, or use a combination of techniques. The right choice is based on the ceiling itself, not a one-size-fits-all method.
After the bulk of the texture is removed, the ceiling usually needs repair work. Scraping can expose old drywall seams, nail pops, minor cracks, and uneven areas that were hidden by the original finish. Crews repair those areas with joint compound, then apply skim coats as needed to level the surface.
Once dry, the ceiling is sanded, primed, and painted. This finishing stage is where the quality of the job becomes clear. A smooth ceiling reflects light differently than a textured one, so rushed patching or uneven sanding can be easy to spot after paint is applied.
Why Ceiling Repairs Matter After Scraping
Texture often hides more than homeowners expect. It may conceal old water staining, poorly finished tape joints, or slight framing movement. Removing it does not cause every issue, but it can reveal work that needs attention before the ceiling can look clean and uniform.
A dependable drywall contractor will address the surface beneath the texture rather than trying to paint over visible flaws. In some cases, a full skim coat is the best path to a consistent finish. In others, targeted repairs are enough. The goal is not simply to remove texture. It is to leave a finished ceiling that looks intentional from every angle.
Removal vs. Covering the Existing Texture
Scraping is not the only option. Depending on the ceiling’s condition and the project budget, covering the texture with new drywall can be a practical alternative.
Installing new drywall over an existing textured ceiling avoids disturbing the old material, which can be useful when testing or removal creates added complications. It also provides a new, flat surface for finishing. However, it lowers the ceiling slightly and requires careful attention around light fixtures, ceiling fans, trim, and attic access points.
Skim coating is another option for lighter textures. A skilled finisher can apply joint compound across the surface to reduce or eliminate the pattern. This approach may be less disruptive than scraping, but it is not ideal for every heavy acoustic texture. It can also require multiple coats and careful sanding to avoid waves or ridges.
The best solution depends on ceiling height, texture thickness, the presence of paint, possible asbestos concerns, and how much repair the existing drywall needs. A clear on-site evaluation helps prevent surprises after the project begins.
What Affects the Cost of Ceiling Texture Removal?
There is no reliable flat price for every ceiling because the visible texture is only part of the work. Small rooms can still require extensive masking, furniture protection, and detailed finishing. Large open rooms may move more efficiently but involve more square footage and more ceiling repairs.
Several factors commonly affect the final estimate:
- The ceiling’s square footage, height, and accessibility
- The type and thickness of texture, including whether it has been painted
- Testing and safety requirements for older materials
- The amount of drywall repair, skim coating, and sanding required
- Protection and cleanup needs for occupied homes or commercial spaces
- Primer and paint specifications after the ceiling is finished
A lower quote is not always a better value if it leaves repairs, sanding, or cleanup unclear. Ask what preparation is included, how the work area will be contained, whether the estimate includes primer and paint, and what level of finish you can expect when the job is complete.
Preparing Your Home for the Work
Ceiling projects affect the entire room, even when the work area is limited. Furniture should be removed when possible. Larger items that must stay should be moved away from the work zone and fully protected. Fragile decor, electronics, and wall hangings need to come down before crews arrive.
Expect some temporary disruption. Rooms may be closed off while the ceiling is wet, drying, or being sanded. The timeline depends on texture removal, repair drying time, humidity, and the number of finish coats needed. A professional crew should communicate the schedule clearly, protect surrounding surfaces, and keep the jobsite orderly throughout the process.
If you are updating several rooms, it is often more efficient to coordinate ceiling work with interior painting or drywall repairs. That allows the finished ceilings and walls to receive a consistent final paint system, rather than creating separate rounds of prep and cleanup.
When to Call a Drywall Professional
Light cosmetic work may seem like a weekend project, but ceilings are unforgiving. Oversoaking can damage drywall, aggressive scraping can tear the paper face, and uneven repairs become obvious under fresh paint. Add possible asbestos concerns, and the risk of a costly mistake grows quickly.
Professional help is especially worthwhile for older homes, painted popcorn ceilings, water-damaged areas, vaulted ceilings, occupied commercial spaces, or projects that require a smooth Level 5-style appearance. An experienced crew can evaluate the material, recommend the right removal or covering method, complete repairs, and deliver a paint-ready finish without leaving your home covered in dust.
For homeowners across the Oklahoma City area, KCS Drywall approaches ceiling updates with the same care used for drywall repair and finishing: clear communication, clean work areas, dependable scheduling, and workmanship built to last. A ceiling may be overhead, but it should never be an afterthought. When the surface is properly prepared and finished, the whole room feels brighter, cleaner, and ready for the next stage of your home.