
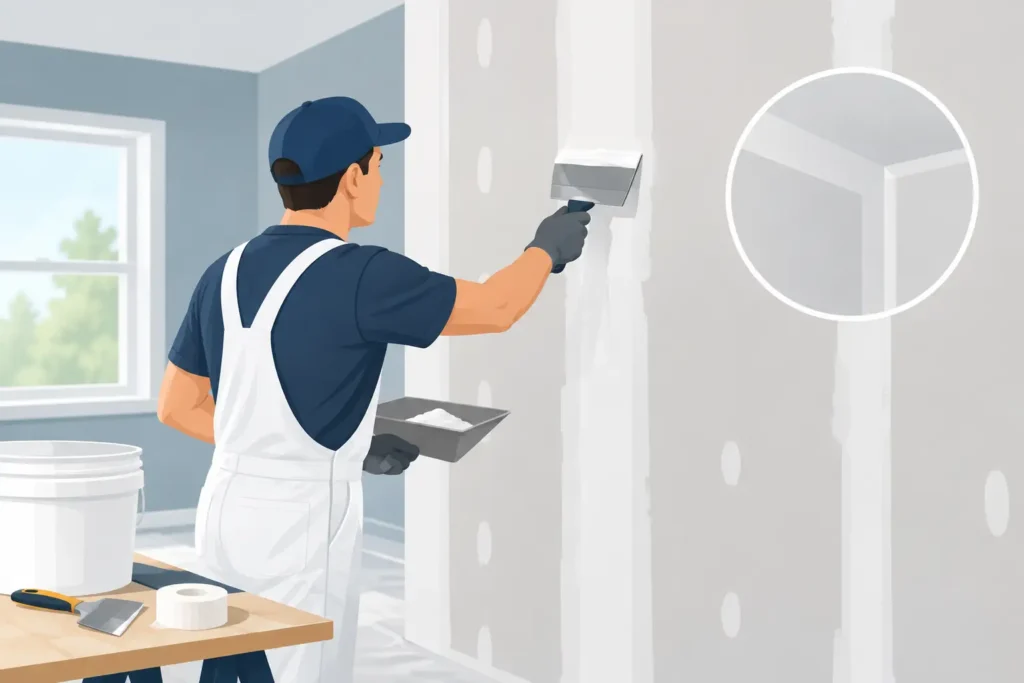
A wall can be framed straight and hung correctly, yet still look rough when the finish coat catches afternoon light. That is why drywall mudding techniques matter. The goal is not simply to cover tape or fill a screw hole. It is to build a flat, even surface that disappears under primer and paint.
For homeowners, property managers, and builders, quality finishing affects the entire room. Poorly finished joints, ridges, bubbles, and visible fasteners can make a new space look unfinished quickly. Careful preparation, the right mud consistency, and patience between coats produce a cleaner, longer-lasting result.
Start With a Solid Drywall Surface
Mudding cannot correct major installation problems. Before applying compound, check that drywall panels are firmly fastened, edges are supported, and screw heads sit slightly below the paper surface without breaking it. A screw that tears the paper loses holding strength and should be removed or driven nearby, then covered properly.
Look closely at butt joints, tapered seams, inside corners, and outside corners. Each requires a slightly different approach. A butt joint has no factory recess, so it must be feathered wider to avoid a noticeable hump. Tapered edges are designed to receive tape and compound, which makes them easier to finish flush with the surrounding wall.
Dust, loose paper, and debris also work against a clean finish. Sweep or vacuum the work area before starting. A clean jobsite helps keep grit out of the mud and makes flaws easier to spot as each coat dries.
Choose the Right Mud for the Job
Ready-mix all-purpose joint compound is a dependable choice for taping, coating, and minor repairs. It is convenient and gives installers more working time, but it dries more slowly. Topping compound is lighter and easier to sand, making it a strong choice for final coats when a smooth painted finish is the priority.
Setting-type compound, often called hot mud, hardens through a chemical reaction rather than air drying. It can be useful for deep repairs, fast turnaround work, or patches that need to be recoated the same day. The trade-off is speed. Once mixed, it begins setting on a fixed schedule, so it is less forgiving for large areas or inexperienced hands.
For most standard seams, use a quality all-purpose compound for the tape coat and build coats, then consider topping compound for the final skim. Whatever product is used, mix it to a creamy, workable consistency. Mud that is too thick drags and leaves knife lines. Mud that is too thin can slump, shrink excessively, or make paper tape harder to control.
Apply Tape Without Trapping Air
The first coat has one job: embed the tape fully and evenly. Apply a thin bed of compound over the joint with a 4-inch or 6-inch taping knife, press paper tape into the wet mud, then draw the knife down the seam with steady pressure. Enough compound should remain under the tape to bond it, but not so much that the tape floats or wrinkles.
Paper tape is a reliable choice for flat seams and inside corners because it creates a strong joint and folds cleanly at the center crease. Fiberglass mesh tape is convenient for small repairs and can pair well with setting-type compound, but it may be more prone to cracking if used incorrectly on broad seams. For high-stress repairs, material choice should follow the condition of the wall, not just what is easiest to apply.
Bubbles usually mean there was not enough compound behind the tape, or the tape was applied over dry mud. Do not try to hide a bubble with more mud. Cut out the loose section once dry, reapply compound, and install new tape. Fixing it early prevents a visible repair later.
Build Thin, Wider Coats
Strong drywall mudding techniques rely on several thin coats rather than one heavy coat. Heavy compound takes longer to dry, shrinks more, and is harder to sand flat. Thin coats give better control and keep the wall surface from developing a raised ridge over the joint.
After the tape coat is dry, apply a second coat using a wider knife, generally 8 to 10 inches. Cover the taped seam and extend compound beyond the first coat on both sides. Keep the center filled while feathering the outside edges tightly into the drywall face.
The final coat should be wider still, often 10 to 12 inches or more. This is especially important at butt joints, where a broad feathered area helps the transition disappear. Hold the knife at a consistent angle and use long, controlled passes. Stop to clean the blade often. A small hardened piece of mud on the knife can leave a line that creates extra sanding work.
Corners need the same discipline. For inside corners, finish one side, allow it to set enough to avoid damaging it, then finish the other side. Outside corners should have a properly installed corner bead beneath the mud. Apply compound over the flange in thin coats, feathering the edge wide enough that the bead does not create a sharp visible transition.
Let Each Coat Dry Before Recoating
Drying time depends on humidity, temperature, airflow, coat thickness, and the type of compound. In Oklahoma, indoor conditions can change quickly with the season, so judging mud by the clock alone can cause problems. If the compound is still dark, cool, or soft in spots, it is not ready for the next coat.
Recoating damp compound can trap moisture and lead to cracking, soft spots, or a finish that sands unevenly. Good airflow helps, but extreme heat should not be used to force dry thick coats. The surface may harden before the material underneath has dried properly.
Plan the work so each coat can dry completely. For a repair, that may mean spreading the work over more than one day. For larger projects, a professional crew can sequence rooms and coats efficiently without sacrificing the finish.
Sand for Flatness, Not Just Smoothness
Sanding is where many otherwise good drywall jobs go wrong. The goal is to remove ridges, lap marks, and rough edges, not to sand every surface until it feels polished. Aggressive sanding can expose tape, thin the paper face of the drywall, or create low spots that show after paint.
Use a sanding pole or sanding block with a fine grit, commonly 150 to 220 grit for finish work. Work lightly and check the wall frequently with a bright work light held at an angle. This side lighting reveals shadows, ridges, and shallow depressions that standard room lighting may hide.
After sanding, remove dust from walls, trim, floors, and nearby surfaces before priming. Drywall dust travels farther than most people expect, which is why containment and daily cleanup matter in occupied homes and commercial spaces. A clean work area protects furnishings and gives primer a better surface to bond to.
Avoid the Most Common Finish Problems
Visible seams usually come from narrow coats, thick edges, or insufficient feathering. The solution is not more sanding alone. Apply another thin, wider coat and blend it gradually into the wall.
Cracks at joints can point to movement, inadequate fastening, damaged tape, or a problem beneath the drywall. Cosmetic mud will not solve structural movement. The source of the crack should be evaluated before repair work begins.
Flashing, where repaired areas look different after painting, often occurs because bare joint compound absorbs paint differently than drywall paper. A quality primer helps create an even surface before the finish coat goes on. For smooth walls and critical lighting conditions, level 5 finishing may be appropriate. This adds a thin skim coat across the full surface and is often worth considering in rooms with large windows, glossy paint, or dark colors.
When Professional Finishing Makes Sense
A small nail pop or minor dent can be manageable for a homeowner with patience and the right materials. Large repairs, water damage, broad seams, high ceilings, textured walls, and rooms with demanding light are different. These jobs require practiced knife control and a process that keeps dust, delays, and surface flaws under control.
KCS Drywall approaches finishing with the same attention given to installation: clear preparation, clean execution, and a surface ready for the next phase of the project. Whether the work is part of a remodel, a repair, or a commercial build-out, a properly finished wall gives paint, texture, and trim the foundation they need.
Take your time with each coat, inspect the wall under angled light, and correct small flaws before paint makes them permanent. A smooth drywall finish is built one careful pass at a time.