
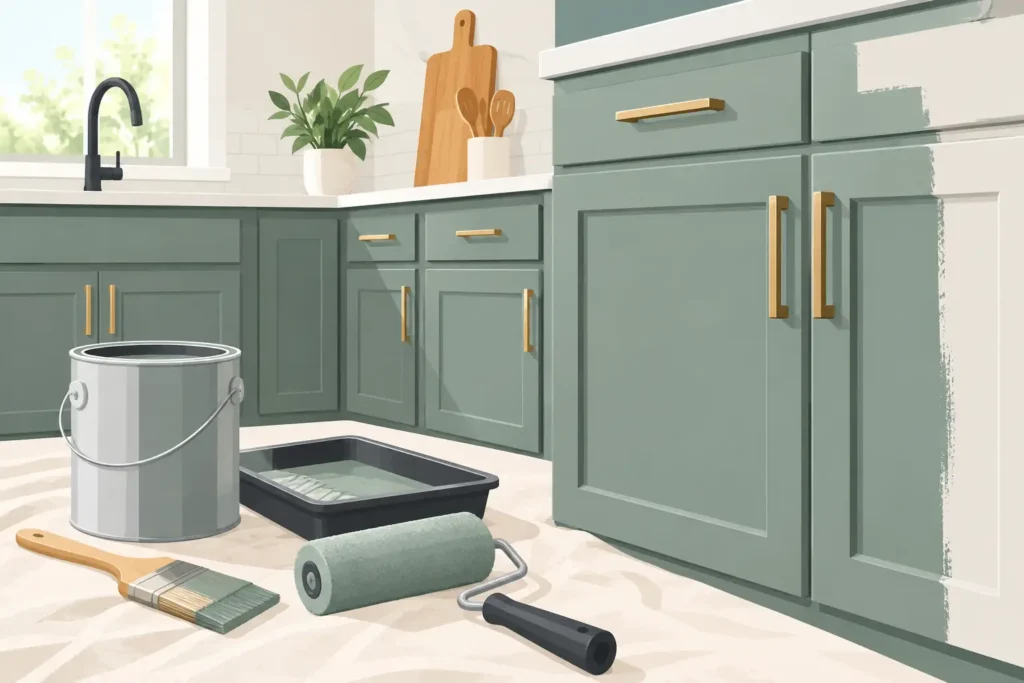
A cabinet repaint can make an outdated kitchen feel cleaner, brighter, and more current without the cost and disruption of a full remodel. But knowing how to paint kitchen cabinets is less about applying a fresh color and more about preparing every surface so the finish can handle fingerprints, moisture, grease, and daily use.
Kitchen cabinets take more abuse than most painted surfaces in a home. A rushed paint job may look acceptable for a few weeks, then begin to chip around handles, peel near the sink, or show brush marks across door panels. The right process takes time, but it delivers a smoother finish that protects your investment and keeps the kitchen looking well maintained.
Decide Whether Your Cabinets Are Good Candidates
Before choosing a paint color, inspect the cabinet boxes, doors, and drawer fronts. Solid wood, painted wood, and many MDF cabinets are good candidates for repainting when they are structurally sound. Doors should close properly, hinges should be secure, and cabinet boxes should not have significant water damage.
Laminate and thermofoil cabinets can also be painted, but they require more careful surface preparation and a bonding primer designed for slick surfaces. If laminate is lifting, cracked, or peeling away from the cabinet base, paint will not provide a lasting fix. In that case, repair or replacement may be the better use of your budget.
Pay particular attention to cabinets near the dishwasher and sink. Swollen particleboard, soft edges, and water-stained interiors often point to an ongoing moisture issue. Address the leak or damaged material before painting. A quality finish cannot cover a failing substrate.
How to Paint Kitchen Cabinets: Plan Before You Start
Painting cabinets is a project with several stages, and each stage needs adequate drying time. Most homeowners should plan for several days, especially if doors and drawer fronts are being painted in a garage or protected work area. Trying to finish everything in one weekend often leads to doors being reinstalled before the paint has cured.
Choose a time when the kitchen can be partly out of service. Set up a clean, well-ventilated workspace where cabinet doors can lie flat or be supported without touching each other. Oklahoma weather can affect drying conditions, so avoid working in extreme humidity, excessive heat, or dusty outdoor areas.
Gather the materials before removing the first door. You will typically need a degreasing cleaner, painter’s tape, drop cloths, screwdrivers, wood filler, sandpaper in several grits, a tack cloth or vacuum, primer, cabinet-grade paint, a quality angled brush, a small foam or microfiber roller, and new hardware if you are making that upgrade. Good tools reduce visible marks and help the work move at a steady pace.
Choose the Right Paint and Primer
Standard wall paint is not the best choice for cabinets. Cabinets need a durable coating that can withstand repeated cleaning and contact. High-quality acrylic enamel, cabinet paint, or a urethane-reinforced water-based enamel are dependable options. These products are designed to level more smoothly and cure harder than typical interior latex paint.
A satin or semi-gloss sheen is usually practical for kitchens. Satin has a softer appearance and hides minor imperfections better. Semi-gloss reflects more light and is easy to wipe down, though it can highlight uneven surfaces. The best choice depends on the condition of the cabinets and the look you want.
Primer matters just as much as the topcoat. Use a stain-blocking bonding primer for bare wood, previously painted cabinets, laminate, or surfaces with knots and discoloration. Tinted primer can also help when changing from dark cabinets to a lighter color. Skipping primer may save a few hours at the start, but it can compromise adhesion and coverage later.
Remove Doors, Drawers, and Hardware
Remove cabinet doors, drawer fronts when possible, hinges, pulls, and knobs. Label every door and its hardware with painter’s tape so each piece returns to its original location. A simple numbering system prevents unnecessary adjustments after painting.
Leave the cabinet boxes in place, but protect countertops, appliances, floors, and backsplashes with drop cloths and tape. Remove or cover anything that could collect sanding dust or paint splatter. Clean jobsite habits make a major difference in both the final appearance and the cleanup process.
If you are replacing hardware, check the hole spacing before drilling. New pulls do not always match the existing holes. Measure carefully and use a template so every handle is level and consistently placed.
Clean, Repair, and Sand Every Surface
Kitchen grease is one of the biggest reasons cabinet paint fails. Even cabinets that look clean can have an invisible film around handles, cooktops, and upper doors. Wash all surfaces with a degreasing cleaner, then wipe them down according to the product directions. Allow the cabinets to dry fully before sanding.
Fill dents, old hardware holes, and minor cracks with a quality wood filler. Once dry, sand repairs flush with the surrounding surface. For most cabinets, a light but thorough sanding with 120- to 180-grit sandpaper will dull the existing finish and give the primer something to grip. You do not need to sand all the way to bare wood unless the old coating is failing.
Use finer sandpaper, around 220 grit, between coats to remove small bumps and dust nibs. Vacuum thoroughly, then wipe the surfaces with a tack cloth or a clean, lint-free cloth. Paint applied over sanding dust will feel rough and look less professional.
Prime for Adhesion and an Even Color
Apply primer in thin, even coats. Use an angled brush for inside corners, routed details, and narrow edges, then use a small roller on broad, flat areas. Avoid overworking the primer. Too many passes with a roller or brush can leave texture that shows through the finish coat.
Let the primer dry as directed on the label, then inspect the surfaces under good lighting. Lightly sand any rough areas and remove dust before moving on. If dark wood grain, stains, or old colors are still showing through, a second primer coat may be necessary.
This is also the point to correct small flaws. Once the finish color is applied, drips, dents, and rough patches are much more noticeable, especially on white or light gray cabinets.
Apply Thin Coats of Cabinet Paint
Paint cabinet frames first, then doors and drawer fronts. Work from the inside edges and detailed areas outward to flatter sections. Brush into corners and panel profiles, then roll large surfaces with long, smooth strokes. Maintain a wet edge so the paint has time to level before it begins to dry.
Thin coats are the key to a durable finish. A heavy coat may seem efficient, but it is more likely to sag, pool in corners, or remain soft for too long. Two coats are common, while dramatic color changes may need a third. Follow the manufacturer’s recoat time rather than relying on touch alone.
Allow each coat to dry completely, then lightly sand with fine-grit paper before the next coat if recommended. Clean away every bit of dust before continuing. This small step helps create the smooth, furniture-like finish homeowners expect from professionally painted cabinets.
Avoid Common Cabinet Painting Problems
Most cabinet failures come from a few avoidable mistakes: painting over grease, skipping sanding or primer, applying coats too heavily, and reinstalling doors too soon. Another common issue is painting in a dusty area, which leaves grit embedded in the finish.
Be patient with curing time. Paint may feel dry within hours but still be vulnerable to scratches, moisture, and pressure for days or even weeks. Reinstall doors carefully after they are dry enough to handle, but avoid aggressively cleaning the cabinets or slamming doors until the coating has fully cured according to the paint manufacturer.
Reinstall Carefully and Protect the New Finish
Once the paint has cured enough for reassembly, reinstall hinges, doors, drawers, and hardware using your labels as a guide. Adjust hinges so the door gaps are even and doors close smoothly. Freshly painted cabinets deserve clean, aligned hardware and properly working doors.
For regular maintenance, wipe cabinets with a soft cloth and mild soap solution. Avoid abrasive sponges, harsh degreasers, and strong chemical cleaners that can dull the finish. Clean spills near the sink, dishwasher, and cooktop promptly to protect the paint over time.
A cabinet repaint is one of the most visible upgrades you can make in a kitchen, but the finish only performs as well as the preparation beneath it. If the project reveals damaged cabinet material, drywall repairs, or a larger remodeling need, addressing those issues before the final coat helps ensure the kitchen looks finished, not simply repainted. For homeowners who want dependable preparation, clean workmanship, and a durable result, KCS Drywall brings the same careful approach to interior painting and remodeling projects across the Oklahoma City metro.
https://addlinks.pro/VrNUh
https://addlinks.pro/INeXX