
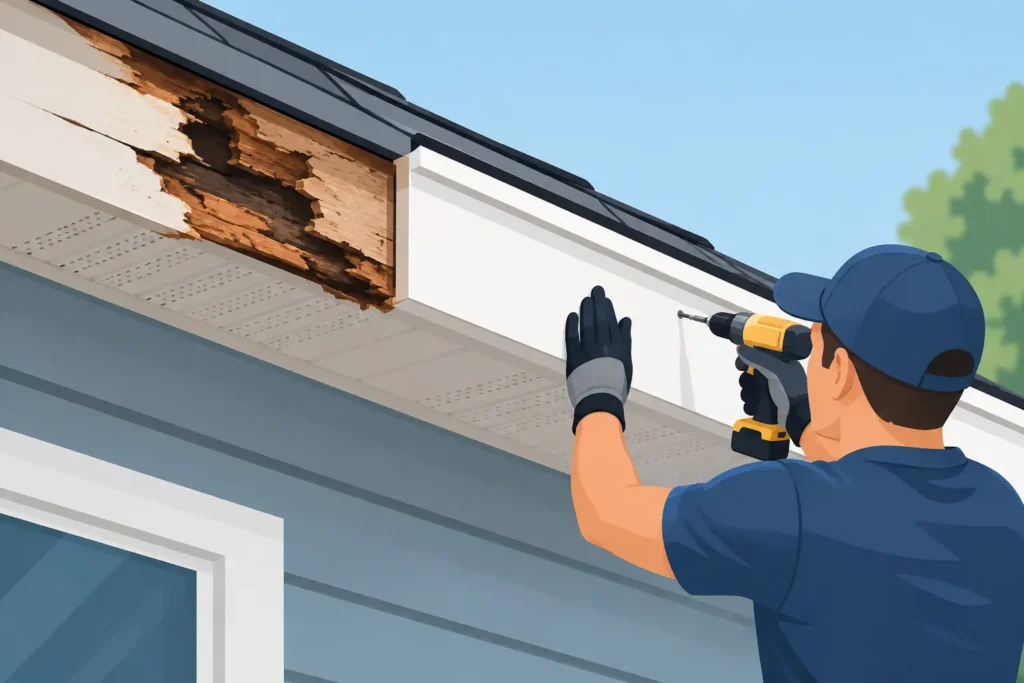
A soft spot at the roof edge is rarely just a cosmetic problem. Fascia supports the gutter line, finishes the roofline, and helps protect the wood behind it from water. Knowing how to repair rotted fascia starts with identifying why it failed. Replace the board without fixing the leak or drainage issue, and the new material can rot in the same place.
For Oklahoma homeowners, fascia damage often follows wind-driven rain, overflowing gutters, roof leaks, or paint that has worn away under intense sun. A careful repair restores the appearance of the home, but more importantly, it keeps moisture from reaching the roof framing and soffit.
Start by Finding the Cause of the Rot
Fascia is the long board installed along the lower edge of the roof. Gutters are commonly fastened directly to it, which means it handles steady exposure to rainwater and debris. When water sits in a clogged gutter or slips behind it, the fascia can absorb moisture over time.
Begin with a close inspection from the ground, then use a stable ladder only if conditions are dry and safe. Look for peeling paint, dark staining, soft wood, loose gutter spikes, sagging gutters, and gaps between the fascia and soffit. Press lightly with a screwdriver in suspicious areas. Sound wood resists pressure; rotted wood feels soft, flakes apart, or allows the tool to sink in.
Check the roof edge above the damaged section as well. A missing drip edge, damaged shingles, failed flashing, or an ice-and-water issue can send water behind the gutter. In some cases, the fascia is sound but the soffit or rafter tail behind it has deteriorated. That changes the scope of the repair.
If the rot is limited to one short section and the framing behind it is solid, this is often a manageable replacement project. If several runs are soft, the gutter is pulling away, or roof framing is compromised, professional exterior repair is the safer choice.
Tools and Materials for Fascia Repair
The right materials depend on your existing trim and gutter system. Most homes use painted wood fascia, though some use composite, aluminum-wrapped, or PVC trim. When replacing a wood board, match the existing thickness and width so the gutter and roof edge align correctly.
For a typical wood fascia replacement, plan to have:
- A pry bar, hammer or drill, circular saw, measuring tape, and exterior-rated fasteners
- Replacement fascia board, preferably primed on all sides before installation
- Exterior wood primer, paint, caulk, and wood preservative for exposed cut ends
- Gutter hangers or hardware if the existing fasteners are rusted or loose
- Proper ladder equipment, gloves, eye protection, and help supporting the gutter
Do not assume a fresh board alone is enough. Exterior-grade fasteners and paint are part of the repair. Untreated ends and unsealed joints are common places for moisture to return.
How to Repair Rotted Fascia Step by Step
1. Set up safely and protect the gutter
Working at the roofline involves real fall risk. Place the ladder on level ground, keep it clear of power lines, and avoid working in high wind or after rain. If the gutter is heavy with debris or water, clean it out before loosening any hardware.
Most fascia replacement jobs require temporarily removing a gutter section or at least supporting it while the damaged board comes out. Do not let the gutter hang from one remaining bracket. Have a second person hold it or use sturdy temporary supports. If the gutter is connected to a downspout, disconnect the downspout carefully and save reusable screws and hangers.
2. Remove the damaged board without harming sound material
Score the paint and caulk line where the fascia meets the soffit or trim. This helps prevent surrounding paint and trim from tearing away. Remove gutter hardware, then pull nails or screws from the rotted fascia using a pry bar.
Work slowly around the soffit. Older soffit panels can be brittle, and a rushed removal can turn a fascia repair into a larger trim project. Once the board is free, inspect the area behind it for wet insulation, mold-like staining, insect damage, or soft rafter tails.
If the rafter tails are solid but show surface discoloration, allow the area to dry thoroughly. Treat minor surface deterioration with an appropriate wood preservative before covering it. If framing is soft, split, or missing material, it needs to be repaired before new fascia goes on. Fascia cannot provide a dependable mounting surface when the structure behind it is failing.
3. Cut and prepare the replacement fascia
Measure the removed board instead of estimating. Confirm both the face width and thickness, because even a small mismatch can leave an uneven roofline or make gutter reinstallation difficult.
Cut the replacement board to length and dry-fit it before fastening. Prime all sides, especially the ends and back of the board. This extra step takes little time and provides protection where rain and humid air can reach areas that are not visible after installation.
Wood fascia remains a practical, affordable match for many homes. PVC or composite fascia can offer better moisture resistance, but it may cost more and may not match surrounding wood trim without additional finishing work. Aluminum-wrapped fascia protects the wood underneath, but any gaps or poorly installed joints can still allow water in.
4. Fasten the new board securely
Position the board flush with the existing fascia and soffit line. Use exterior-rated screws or galvanized nails long enough to secure the fascia firmly into solid rafter tails. Keep fasteners straight and evenly spaced. Driving them too close to the edge can split the board; overdriving them can create low spots that hold water.
Check the run from both ends before completing the fastening. Fascia should look straight from the ground and provide a stable, level mounting surface for the gutter. If the replacement section meets existing fascia, keep the joint tight and supported by framing whenever possible.
Apply high-quality exterior caulk at the seams where boards meet and along trim transitions where water could enter. Caulk is a water-management detail, not a substitute for solid construction. Do not use it to hide a wide gap caused by warped wood or damaged framing.
5. Reinstall the gutter with correct slope
Once the fascia is secure, reinstall the gutter using new hangers if the old ones are bent, loose, or corroded. Gutters should slope gradually toward the downspout so water drains instead of pooling against the fascia.
A gutter that overflows during normal rainfall may be clogged, undersized, improperly pitched, or missing adequate downspout capacity. Test the section with a hose after reinstallation. Watch for water running behind the gutter, standing water inside it, or leaks at seams. Correct those issues before calling the repair complete.
6. Prime and paint for long-term protection
After caulk has cured as directed, prime bare wood and fastener heads. Finish with quality exterior paint that matches the home. Pay attention to bottom edges and joints, where water tends to collect.
Painting is not merely a finishing touch. A complete paint system helps seal the fascia against sun, rain, and humidity. Plan to inspect and touch up exterior trim before paint failure exposes bare wood again.
When a Fascia Repair Should Be Handled by a Professional
Some rot is straightforward. Other situations point to a larger moisture or structural problem. Call an experienced exterior repair contractor when damage extends under the roof decking, rafter tails are soft, gutters have pulled away from the house, or the affected area is difficult to reach safely.
Professional help also makes sense when matching existing trim, repairing soffit, repainting a larger exterior area, or coordinating roof and gutter work. A clean repair depends on more than replacing one board. The materials must fit, the drainage must work, and the finished surface should look like it belongs on the home.
For Oklahoma property owners, KCS Drywall can help address exterior repair needs with the same focus on clean workmanship, clear communication, and dependable scheduling used on every home improvement project.
Keep New Fascia From Rotting Again
The best protection is routine attention at the roof edge. Clean gutters at least twice a year and after major storms, especially if nearby trees drop leaves or seed pods. Watch the gutter line during a hard rain. Water should move to the downspout, not spill over the front edge or run behind the gutter.
Also inspect fascia paint, roof shingles, flashing, and caulk each spring and fall. Small paint cracks and loose gutter hangers are easy to address early. Left alone, they can create the kind of hidden water damage that turns a simple trim repair into a framing repair.
A solid fascia board, properly pitched gutter, and well-maintained roofline give your home a cleaner finish and a stronger defense against the next Oklahoma storm.