
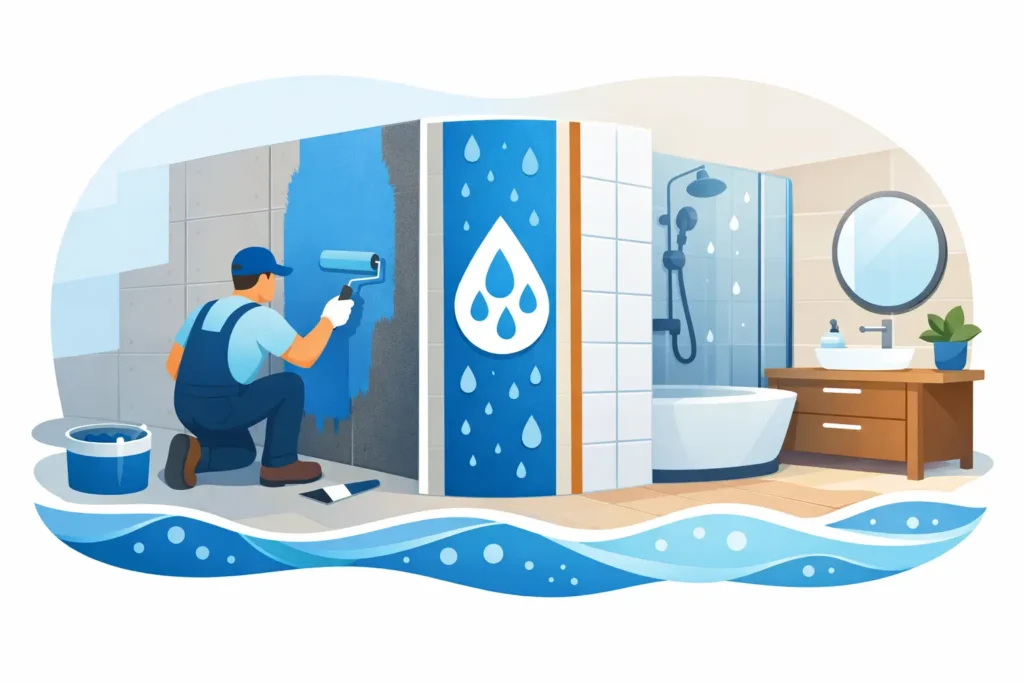
How to Waterproof Bathroom Walls the Right Way

How to Waterproof Bathroom Walls the Right Way

A freshly tiled shower can still fail if water reaches the wall behind it. Tile, grout, and caulk are finish materials, not a complete waterproofing system. Knowing how to waterproof bathroom walls before tile or paint goes up helps prevent swollen drywall, mold, loose tile, and expensive repairs behind an otherwise beautiful bathroom.

For Oklahoma homeowners, moisture protection matters most around showers, tubs, and bathroom floors where splashing, humidity, and small plumbing leaks can work their way into wall cavities. The right approach depends on where the wall is located and what finish it will receive.

Start by Identifying the Wet Areas

Not every bathroom wall needs the same level of protection. A wall inside a shower enclosure, around a tub with a showerhead, or behind a freestanding shower valve is a wet area. These surfaces need a continuous waterproof barrier behind the finished wall surface.

Walls outside the direct spray zone, such as those behind a vanity or toilet, usually do not need a full waterproof membrane. They still benefit from moisture-resistant materials, quality paint, proper ventilation, and careful caulking around fixtures. Treating every wall as a shower wall can add unnecessary cost, while underbuilding the shower area creates a real risk of damage.

Before materials are installed, inspect the framing and plumbing. Replace any water-damaged studs, correct out-of-plumb framing, and make sure pipes, valves, and niches are securely located. Waterproofing cannot compensate for an uneven wall or a plumbing connection that may leak later.

Choose the Right Wall Backer

Standard drywall should not be used behind tile in a shower or tub surround. Even moisture-resistant drywall, often called green board, is not a waterproof backer for direct water exposure. It may be appropriate elsewhere in the bathroom, but not where water regularly hits the wall.

For shower walls, contractors typically use cement board, fiber cement board, or a foam tile backer board. Each can work well when installed according to the manufacturer’s requirements.

Cement board is durable, widely available, and a solid choice for tile installations. It is not damaged by water in the same way drywall is, but it is not waterproof on its own. Water can pass through it, which is why a separate membrane is still necessary.

Foam backer boards are lighter and often include waterproof facing material. Their seams, fasteners, corners, and penetrations must still be sealed with the system’s approved tape and sealant. They cost more than cement board, but can reduce labor and make waterproofing details easier to manage.

Whatever backer you choose, install it with the correct fasteners and spacing. Leave the required gap at the tub deck, shower pan, and board joints. Do not bury damaged edges in mortar and assume they are protected. Clean, properly fitted backer is the foundation for a durable tile wall.

How to Waterproof Bathroom Walls Before Tiling

Once the backer board is installed, the waterproof layer needs to form one continuous surface. There are two common methods: a liquid-applied membrane or a sheet membrane.

A liquid membrane is rolled, brushed, or troweled onto the wall. It is practical for many bathroom remodels because it covers irregular areas and is easy to apply around plumbing openings. The key is applying enough material. One thin coat is not enough. Most products require multiple coats and a specific dry thickness, so follow the product instructions instead of judging coverage by appearance alone.

A sheet membrane is bonded to the wall with thinset mortar or an approved adhesive. It provides a consistent thickness and can be especially effective in showers with niches, benches, or multiple corners. Installation takes more precision because overlapping seams must be properly sealed. Poor seam work can defeat an otherwise excellent system.

Do not combine products from unrelated systems unless the manufacturers specifically allow it. A membrane, seam tape, drain connection, and sealant are designed to work together. Mixing materials may create adhesion issues or affect a warranty.

Treat Seams, Corners, and Fasteners Carefully

Most water intrusion does not happen in the center of a wall. It happens at transitions: board joints, inside corners, outside corners, tub flanges, shower pans, niches, and pipe penetrations.

Embed the approved reinforcing tape in liquid membrane at every board seam and corner. With a sheet system, overlap or band seams as required. Cover screw heads and fasteners thoroughly. These details take time, but they are where careful workmanship pays off.

For shower valves, shower arms, body sprays, and other openings, use preformed seals when available or apply the membrane carefully around the penetration. The opening should be neat and appropriately sized. Large gaps behind the trim plate make it harder to create a dependable seal.

Built-in niches and benches deserve extra attention because they have horizontal surfaces that can hold water. Slope the bottom of a niche slightly toward the shower so water drains instead of pooling. Waterproof the niche as a complete box, including corners and seams, before tile is installed.

Protect Tub Surrounds and Bathroom Drywall

A tub surround needs the same care as a shower when it includes a showerhead. The waterproofing must overlap or connect correctly with the tub flange so water running down the wall is directed into the tub, not behind it. This is a small detail with major consequences.

Outside the shower area, use moisture-resistant drywall where appropriate and finish it with a quality bathroom-rated primer and paint. Satin and semi-gloss paints are common choices because they are easier to clean and handle humidity better than flat finishes. Paint is moisture resistant, not waterproof, so it should not be used as the only defense in a wet zone.

Around vanities, backsplashes, and plumbing supply lines, seal gaps neatly with a flexible bathroom caulk. Caulk should also be used where tile meets a tub, shower pan, countertop, or dissimilar wall material. Grout is rigid and can crack as the home moves slightly; flexible sealant handles that movement better.

Let the Waterproofing Cure Before Tile Goes On

Rushing this stage is one of the most common avoidable mistakes in a bathroom remodel. Liquid membranes need time between coats and before tile installation. If tile is set over a membrane that has not cured, the waterproof layer may not perform as intended or may interfere with mortar bonding.

Check for missed spots, pinholes, thin coverage, loose tape, and unsealed fasteners after the membrane dries. The surface should be continuous, with no exposed backer in the shower area. On larger or more detailed installations, a flood test may be appropriate before tile work begins, especially for shower pans and horizontal surfaces.

Once the wall is ready, use a mortar and grout suitable for the selected tile and installation conditions. Tile installation still matters. Uneven coverage, cracked grout, or poorly sealed changes of plane can create maintenance problems even when the waterproofing behind the wall is sound.

Avoid the Shortcuts That Cause Hidden Damage

A few shortcuts show up repeatedly in failed bathrooms: tiling directly over drywall, relying on grout to stop water, applying membrane only around the showerhead, or skipping seam treatment because the tile will cover it. None of those choices creates a dependable wet-area assembly.

Another mistake is sealing only what is visible. Waterproofing needs to continue behind trim, into corners, around niches, and down to the tub or shower base. The goal is not simply to keep the tile looking good. It is to protect the framing and drywall that homeowners cannot see.

Ventilation also plays a supporting role. Use a properly sized exhaust fan during showers and for a period afterward. Good airflow reduces lingering humidity, helps protect painted walls and ceilings, and makes the entire bathroom easier to maintain.

A bathroom wall system is only as reliable as its details. When the backer, membrane, tile work, caulk, and ventilation are handled correctly, the finished room stays cleaner, stronger, and easier to enjoy. If a remodel involves damaged drywall, framing repairs, or a new shower layout, experienced crews like KCS Drywall can help make sure the work behind the finished surface is done with the same care as the work you see.

Leave a Comment

Your email address will not be published. Required fields are marked *

How to Waterproof Bathroom Walls the Right Way

How to Waterproof Bathroom Walls the Right Way

A freshly tiled shower can still fail if water reaches the wall behind it. Tile, grout, and caulk are finish materials, not a complete waterproofing system. Knowing how to waterproof bathroom walls before tile or paint goes up helps prevent swollen drywall, mold, loose tile, and expensive repairs behind an otherwise beautiful bathroom.

For Oklahoma homeowners, moisture protection matters most around showers, tubs, and bathroom floors where splashing, humidity, and small plumbing leaks can work their way into wall cavities. The right approach depends on where the wall is located and what finish it will receive.

Start by Identifying the Wet Areas

Not every bathroom wall needs the same level of protection. A wall inside a shower enclosure, around a tub with a showerhead, or behind a freestanding shower valve is a wet area. These surfaces need a continuous waterproof barrier behind the finished wall surface.

Walls outside the direct spray zone, such as those behind a vanity or toilet, usually do not need a full waterproof membrane. They still benefit from moisture-resistant materials, quality paint, proper ventilation, and careful caulking around fixtures. Treating every wall as a shower wall can add unnecessary cost, while underbuilding the shower area creates a real risk of damage.

Before materials are installed, inspect the framing and plumbing. Replace any water-damaged studs, correct out-of-plumb framing, and make sure pipes, valves, and niches are securely located. Waterproofing cannot compensate for an uneven wall or a plumbing connection that may leak later.

Choose the Right Wall Backer

Standard drywall should not be used behind tile in a shower or tub surround. Even moisture-resistant drywall, often called green board, is not a waterproof backer for direct water exposure. It may be appropriate elsewhere in the bathroom, but not where water regularly hits the wall.

For shower walls, contractors typically use cement board, fiber cement board, or a foam tile backer board. Each can work well when installed according to the manufacturer’s requirements.

Cement board is durable, widely available, and a solid choice for tile installations. It is not damaged by water in the same way drywall is, but it is not waterproof on its own. Water can pass through it, which is why a separate membrane is still necessary.

Foam backer boards are lighter and often include waterproof facing material. Their seams, fasteners, corners, and penetrations must still be sealed with the system’s approved tape and sealant. They cost more than cement board, but can reduce labor and make waterproofing details easier to manage.

Whatever backer you choose, install it with the correct fasteners and spacing. Leave the required gap at the tub deck, shower pan, and board joints. Do not bury damaged edges in mortar and assume they are protected. Clean, properly fitted backer is the foundation for a durable tile wall.

How to Waterproof Bathroom Walls Before Tiling

Once the backer board is installed, the waterproof layer needs to form one continuous surface. There are two common methods: a liquid-applied membrane or a sheet membrane.

A liquid membrane is rolled, brushed, or troweled onto the wall. It is practical for many bathroom remodels because it covers irregular areas and is easy to apply around plumbing openings. The key is applying enough material. One thin coat is not enough. Most products require multiple coats and a specific dry thickness, so follow the product instructions instead of judging coverage by appearance alone.

A sheet membrane is bonded to the wall with thinset mortar or an approved adhesive. It provides a consistent thickness and can be especially effective in showers with niches, benches, or multiple corners. Installation takes more precision because overlapping seams must be properly sealed. Poor seam work can defeat an otherwise excellent system.

Do not combine products from unrelated systems unless the manufacturers specifically allow it. A membrane, seam tape, drain connection, and sealant are designed to work together. Mixing materials may create adhesion issues or affect a warranty.

Treat Seams, Corners, and Fasteners Carefully

Most water intrusion does not happen in the center of a wall. It happens at transitions: board joints, inside corners, outside corners, tub flanges, shower pans, niches, and pipe penetrations.

Embed the approved reinforcing tape in liquid membrane at every board seam and corner. With a sheet system, overlap or band seams as required. Cover screw heads and fasteners thoroughly. These details take time, but they are where careful workmanship pays off.

For shower valves, shower arms, body sprays, and other openings, use preformed seals when available or apply the membrane carefully around the penetration. The opening should be neat and appropriately sized. Large gaps behind the trim plate make it harder to create a dependable seal.

Built-in niches and benches deserve extra attention because they have horizontal surfaces that can hold water. Slope the bottom of a niche slightly toward the shower so water drains instead of pooling. Waterproof the niche as a complete box, including corners and seams, before tile is installed.

Protect Tub Surrounds and Bathroom Drywall

A tub surround needs the same care as a shower when it includes a showerhead. The waterproofing must overlap or connect correctly with the tub flange so water running down the wall is directed into the tub, not behind it. This is a small detail with major consequences.

Outside the shower area, use moisture-resistant drywall where appropriate and finish it with a quality bathroom-rated primer and paint. Satin and semi-gloss paints are common choices because they are easier to clean and handle humidity better than flat finishes. Paint is moisture resistant, not waterproof, so it should not be used as the only defense in a wet zone.

Around vanities, backsplashes, and plumbing supply lines, seal gaps neatly with a flexible bathroom caulk. Caulk should also be used where tile meets a tub, shower pan, countertop, or dissimilar wall material. Grout is rigid and can crack as the home moves slightly; flexible sealant handles that movement better.

Let the Waterproofing Cure Before Tile Goes On

Rushing this stage is one of the most common avoidable mistakes in a bathroom remodel. Liquid membranes need time between coats and before tile installation. If tile is set over a membrane that has not cured, the waterproof layer may not perform as intended or may interfere with mortar bonding.

Check for missed spots, pinholes, thin coverage, loose tape, and unsealed fasteners after the membrane dries. The surface should be continuous, with no exposed backer in the shower area. On larger or more detailed installations, a flood test may be appropriate before tile work begins, especially for shower pans and horizontal surfaces.

Once the wall is ready, use a mortar and grout suitable for the selected tile and installation conditions. Tile installation still matters. Uneven coverage, cracked grout, or poorly sealed changes of plane can create maintenance problems even when the waterproofing behind the wall is sound.

Avoid the Shortcuts That Cause Hidden Damage

A few shortcuts show up repeatedly in failed bathrooms: tiling directly over drywall, relying on grout to stop water, applying membrane only around the showerhead, or skipping seam treatment because the tile will cover it. None of those choices creates a dependable wet-area assembly.

Another mistake is sealing only what is visible. Waterproofing needs to continue behind trim, into corners, around niches, and down to the tub or shower base. The goal is not simply to keep the tile looking good. It is to protect the framing and drywall that homeowners cannot see.

Ventilation also plays a supporting role. Use a properly sized exhaust fan during showers and for a period afterward. Good airflow reduces lingering humidity, helps protect painted walls and ceilings, and makes the entire bathroom easier to maintain.

A bathroom wall system is only as reliable as its details. When the backer, membrane, tile work, caulk, and ventilation are handled correctly, the finished room stays cleaner, stronger, and easier to enjoy. If a remodel involves damaged drywall, framing repairs, or a new shower layout, experienced crews like KCS Drywall can help make sure the work behind the finished surface is done with the same care as the work you see.

1 thought on “How to Waterproof Bathroom Walls the Right Way”

Leave a Comment

Your email address will not be published. Required fields are marked *

Call