A drywall patch can look perfectly acceptable after sanding, then stand out the moment new texture hits the wall. That is why homeowners often ask, can you texture over patched drywall? Yes, but texture is not a shortcut for rough repairs. The patch must be stable, smooth, dry, and properly sealed before texturing begins.
When the preparation is right, a patched area can blend into an existing wall so well that it is difficult to spot after painting. When preparation is rushed, texture can highlight ridges, flashing, uneven edges, and poor repair work. The difference comes down to the condition of the patch and how closely the new texture matches the surrounding surface.
Can You Texture Over Patched Drywall Successfully?
You can texture over a patched drywall area once the joint compound has fully dried and the repair has been sanded flush with the wall. The goal is not simply to cover the patch. It is to create a continuous surface where the repair, old wall, and new texture all accept paint the same way.
Small nail holes and minor dents are usually straightforward. Larger holes, cutouts, water-damaged areas, and repairs near corners take more care because they require wider feathering. If the patch creates even a slight hump or shallow depression, a light texture may not hide it. In some cases, it will make the flaw more visible under natural light or overhead fixtures.
Texture also cannot correct a loose patch, cracked joint tape, soft drywall, or an active moisture issue. Those problems need to be repaired at the source before any finishing work starts.
Start With a Flat, Fully Finished Patch
A reliable texture repair starts with the drywall finish, not the texture material. The joint compound should extend beyond the patch in thin, feathered coats. On a larger repair, the finished area may need to spread 12 inches or more past the edge of the patch to avoid a noticeable transition.
After the final coat dries, sand the area lightly with a fine sanding sponge or sandpaper. Run a hand across the wall instead of relying only on what you can see. Your hand will often find a ridge, raised tape edge, or low spot that lighting hides.
A practical way to check the repair is to shine a work light across the wall at a low angle. This side lighting exposes imperfections that can show through both texture and paint. If you see a hard outline around the patch, add another thin coat of compound, let it dry, and sand again. Taking this extra step is usually faster than trying to disguise a poor repair after texture has been applied.
Dust removal matters, too. Vacuum the wall or wipe it with a clean, dry microfiber cloth. Drywall dust can prevent primer and texture from bonding evenly.
Prime the Patch Before Applying Texture
Fresh joint compound is more porous than painted drywall. If texture is applied directly over an unprimed patch, the compound can absorb moisture unevenly. That may cause the texture to dry differently, lose adhesion, or show a visible change in sheen after painting.
Use a quality drywall primer or PVA primer over the repaired area. Apply enough to seal the compound, but do not leave heavy roller lines or drips. Let the primer dry according to the product directions before adding texture.
Priming is especially valuable when matching orange peel, knockdown, or another light texture. These finishes do not offer much coverage, so differences in surface absorption can become noticeable once the final paint goes on. A sealed patch gives you a more consistent base and a cleaner finish.
Match the Existing Texture, Not Just the Product
The hardest part of texturing over patched drywall is matching what is already on the wall. Even common finishes vary from home to home. Orange peel may be fine and tight in one room, then heavier and more open in another. Knockdown can range from subtle to bold depending on the spray pattern, material thickness, and timing of the knockdown pass.
Before working on the wall, make a test sample on a piece of scrap drywall or cardboard. Compare it to the surrounding surface after it dries. Look at the size of the texture droplets, the spacing between them, and the overall density. A texture that is too heavy can be just as obvious as one that is too light.
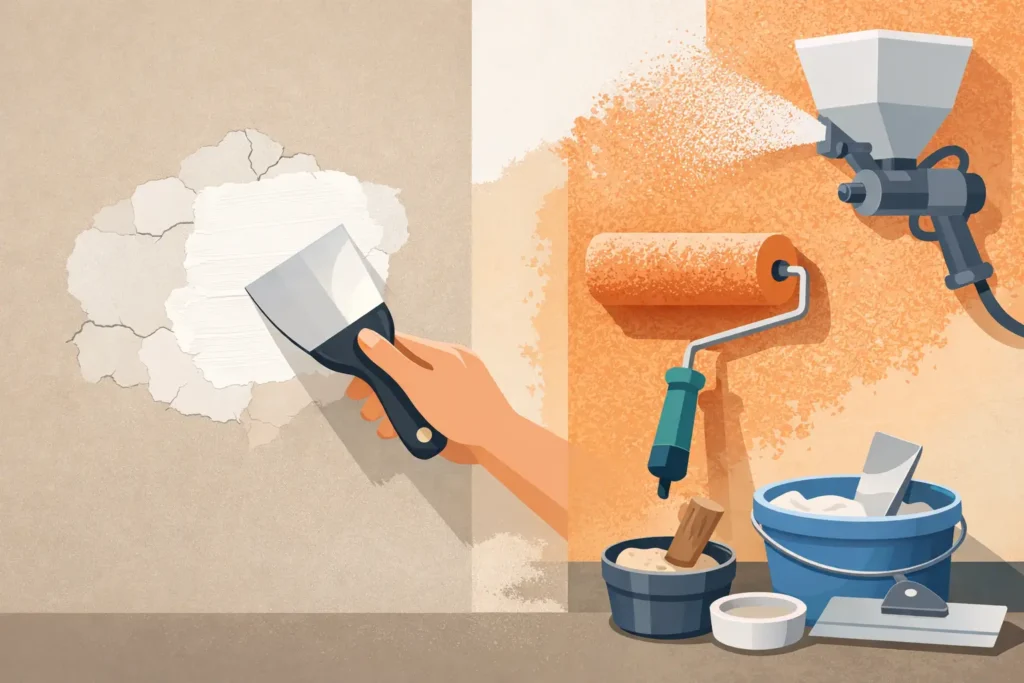
For orange peel, a spray texture product or hopper can work well when the spray pattern is adjusted carefully. Keep the application light and build it up in small passes if needed. For knockdown, spray the texture evenly, allow it to set briefly, then lightly drag a wide knockdown knife across the surface. The timing is critical. Knock down too soon and the pattern smears; wait too long and it will not flatten cleanly.
Hand-applied textures, such as stomp, crowsfoot, or skip trowel, require a consistent touch. The same brush, roller, trowel angle, and pressure should be used across the patched area and blended slightly into the existing field. On heavily textured walls, expanding the repair area beyond the patch often creates a more natural transition.
When Texture Will Not Hide the Repair
Texture can soften minor surface differences, but it is not a substitute for quality drywall finishing. A patch may still show if it has a raised edge, a low center, visible tape lines, cracking, or a sheen difference caused by missed primer.
It can also show because of paint, even when the texture match is close. Touch-up paint often dries differently from the surrounding wall, particularly on walls with eggshell, satin, or semi-gloss finishes. For the best result, paint from corner to corner or across a full natural break, rather than painting only the repaired spot.
Walls near large windows, recessed lighting, or long hallways deserve extra attention. Raking light across the surface makes small drywall flaws much easier to see. In those locations, a wider skim coat and a carefully blended texture are often worth the added labor.
A Few Common Mistakes to Avoid
The most common mistake is applying texture over compound that is still damp. Joint compound may feel dry on the surface while moisture remains underneath, especially after a thick repair or during humid Oklahoma weather. Give each coat enough drying time before sanding, priming, or texturing.
Another mistake is using texture to fill gaps, deep scratches, or uneven patch edges. Repair those flaws with joint compound first. Texture should be the finish layer, not the leveling material.
Homeowners also run into trouble by spraying a small, concentrated circle directly over the patch. That often creates a visible border. Instead, feather the new texture outward and blend it into the surrounding wall pattern. Less material is usually better on the first pass.
Finally, do not skip the final paint step. A properly painted wall helps unify the patch, texture, primer, and existing surface into one consistent finish.
When It Makes Sense to Call a Drywall Professional
A small patch in a low-visibility area can be a manageable DIY project if you are patient with prep and willing to test the texture first. Larger repairs, ceiling patches, repeated cracks, water damage, and high-visibility walls are different. Those repairs often require more than a quick texture touch-up to look right.
Professional drywall finishing is especially helpful when the wall has a custom texture, when the repair blends into a large open area, or when matching an existing painted finish is critical. An experienced crew can assess the wall condition, feather the repair properly, match the texture, and keep the work area clean throughout the job.
KCS Drywall helps Oklahoma City-area homeowners and property owners handle drywall repair, tape, texture, and painting with a focus on clean workmanship and dependable service. Whether the issue is a small damaged section or a larger wall repair, getting the surface right before texture is applied protects the final result.
A patch does not have to remain the first thing you notice when you enter a room. Give the compound time to dry, make the surface truly flat, seal it with primer, and match the surrounding texture with a light hand. Those details are what turn a repaired wall back into a finished one.