
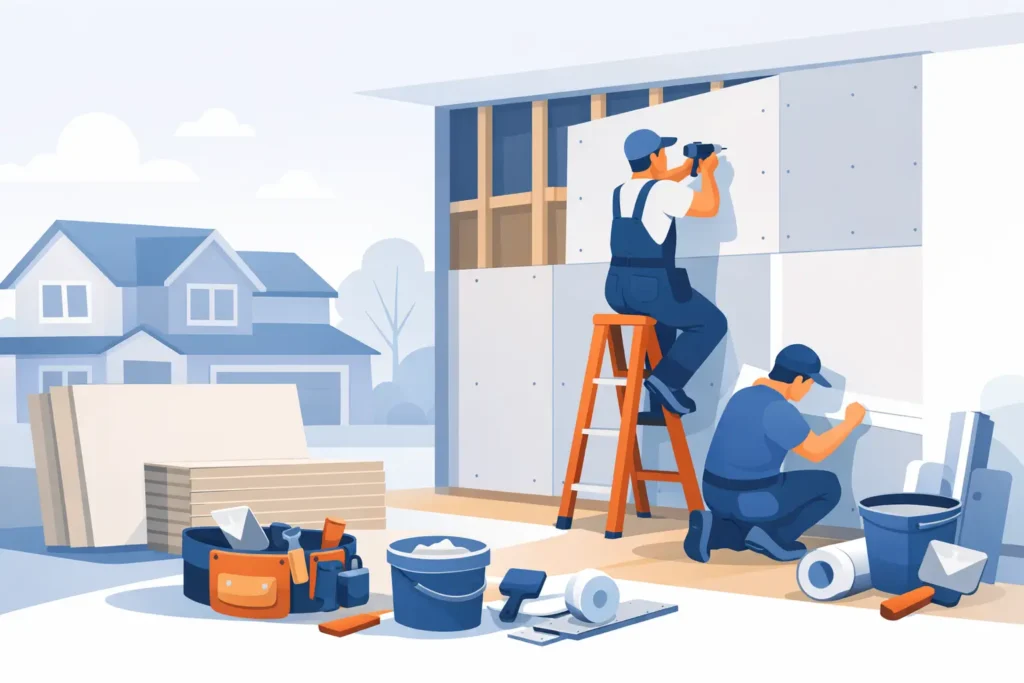
A wall can look fine from across the room while hiding the signs that tell a homeowner something needs attention: a spreading ceiling crack, soft drywall near a bathroom, tape pulling loose at a seam, or a repair that catches every bit of afternoon light. This residential drywall project guide explains what to look for, how to plan the work, and what a professional finish should include before the first sheet goes up.
Start With the Cause, Not the Crack
Drywall is a finish surface, which means visible damage is often a symptom rather than the full problem. A small dent from furniture is usually a straightforward repair. A brown ceiling stain, repeated cracking along the same seam, or crumbling drywall around a window may point to moisture, movement, or an exterior issue that needs to be corrected first.
Before scheduling drywall work, look for active leaks, plumbing concerns, roof damage, poor drainage, or signs of settling. Replacing damaged material without fixing the source can lead to the same repair a few months later. This is especially true around showers, windows, attic access points, and ceilings below second-floor bathrooms.
It also helps to distinguish between normal cosmetic wear and structural concerns. Fine hairline cracks can result from seasonal movement in Oklahoma homes. Wider cracks, cracks that return quickly after repair, doors that suddenly stick, or noticeable sagging deserve a closer inspection before finishing begins.
Choose Repair, Replacement, or a Larger Upgrade
The right scope depends on the condition of the wall, the location of the damage, and your plans for the room. A clean, localized hole can often be patched and blended into the surrounding texture. Water-damaged drywall, mold concerns, large areas of loose tape, or extensive cracking may call for removing and replacing sections of material.
Replacement can be the better value when a wall has multiple old patches or when the existing finish is badly uneven. Trying to save every damaged section may create more labor without producing the smooth result you want. On the other hand, full replacement is not necessary for every blemish. A qualified contractor should explain why a repair is sufficient or why broader work makes more sense.
A drywall project is also a practical time to consider related improvements. If walls are open, homeowners may want to add insulation, update wiring, repair framing, install blocking for shelves or grab bars, or prepare a room for new lighting. These additions require coordination, but they can prevent the cost and mess of opening finished walls later.
Plan the Residential Drywall Project Before Work Begins
Good drywall work starts with a clear plan. The quote should define the rooms or areas involved, whether the work includes demolition, drywall installation, framing repairs, tape and texture, primer, painting, cleanup, and disposal. Homeowners should not have to guess whether a bid covers the final ready-to-paint surface or only the installation of drywall panels.
Match the Material to the Room
Standard drywall is appropriate for many living areas, bedrooms, and hallways. Bathrooms, laundry rooms, and other humid spaces may need moisture-resistant board in appropriate areas. Fire-rated drywall may be required in garages, utility spaces, or between a garage and the home, depending on the construction and local code requirements.
The thickness of the drywall matters, too. Thicker panels can improve stiffness and help reduce sagging on ceilings, while thinner material may be used for specific applications. The best choice depends on framing spacing, the existing construction, and the needs of the room. Material selection should follow the job, not a one-size-fits-all approach.
Decide on Texture and Paint Expectations
Texture affects both appearance and repair visibility. A smooth wall finish can look clean and modern, but it requires careful finishing because every seam and imperfection is easier to see. Orange peel, knockdown, and other common textures can be more forgiving, though a patch still needs to match the surrounding surface closely.
If painting is part of the project, discuss it at the beginning. Fresh paint often makes a repaired area look complete, but touching up a single section can be difficult when the existing color has faded or when the paint sheen does not match. In some rooms, painting the entire wall or ceiling produces the most consistent result.
What Quality Drywall Work Looks Like
The finished wall is what homeowners see, but quality begins behind the surface. Panels should be installed securely, with joints properly placed and fasteners set without breaking the paper face. Damaged framing, warped studs, or poor backing can create uneven walls and future cracks, so the installer should address those conditions when they are found.
Taping and finishing require patience. Joints receive tape and multiple coats of joint compound, with drying and sanding between stages. Corners need to be straight and protected. Fastener heads must be covered smoothly. Rushing this portion of the job is one of the fastest ways to end up with ridges, visible seams, flashing under paint, or texture that does not blend.
Clean jobsite practices matter just as much. Drywall sanding creates fine dust, even when precautions are taken. A professional crew should protect nearby floors and belongings, contain work areas as practical, remove debris, and leave the space orderly at the end of the project. For occupied homes, clear scheduling and communication are part of quality service, not an extra.
Understand the Factors That Affect Cost and Timing
Drywall pricing is based on more than square footage. A small repair may take significant time because matching texture, protecting the room, allowing compound to dry, and returning for additional coats can require as much care as a larger installation. Access also matters. High ceilings, stairwells, occupied rooms, and areas with limited workspace can add labor.
Water damage, hidden framing repairs, insulation replacement, mold remediation, electrical work, and painting can change the final scope. The most dependable approach is to ask how unexpected conditions will be handled before work starts. A clear estimate and prompt communication make it easier to make decisions if the project reveals damage behind the wall.
Timing depends on the size of the project, drying conditions, texture requirements, and paint schedule. A simple patch may be completed quickly, while a multi-room installation or repair after significant water damage can take longer. Drywall finishing should not be rushed simply to meet an arbitrary deadline. Proper drying time helps create a finish that holds up.
Prepare Your Home for a Better Result
Homeowners can make the process easier by moving furniture away from the work area, removing wall décor, and clearing breakable items from nearby surfaces. If a room must remain in use, discuss access needs and daily cleanup expectations before the crew arrives. Pets should be kept away from work zones for their safety and to reduce dust and disruption.
Take a few minutes to walk through the project before work begins. Confirm the areas being repaired, the selected texture, paint responsibilities, and any concerns about trim, flooring, cabinets, or nearby finishes. At the final walkthrough, look at the repaired surfaces under normal room lighting and from several angles. Minor touch-ups are easiest to address before equipment and protection are removed.
When It Pays to Call a Professional
Small nail holes and minor scuffs may be manageable for a confident homeowner. Larger holes, ceiling damage, water-related repairs, recurring cracks, texture matching, and rooms that will be painted in a noticeable sheen are usually better left to an experienced drywall crew. These projects demand more than filling a gap. They require stable repairs, controlled dust, straight lines, and a finish that disappears into the room.
For Oklahoma homeowners, KCS Drywall approaches each job with clear communication, clean execution, and craftsmanship built for everyday use. Whether the work is a focused repair or part of a larger remodel, the goal should be the same: walls and ceilings that look right, perform well, and let you enjoy your home without noticing the work that went into them.
A good drywall project should leave more than a patched surface behind. It should leave you with confidence that the underlying issue was addressed, the finish was handled with care, and the room is ready for what comes next.