A wall can be framed correctly and covered with drywall, yet still look unfinished until the seams, corners, fasteners, and surface transitions disappear. That is why homeowners and property managers often ask, “what does drywall finishing include?” It is the detailed work that turns installed drywall panels into a smooth, durable surface ready for texture, primer, and paint.
For a new room, a remodel, or a repair after water damage, professional finishing affects what people see every day. Uneven joints, flashing over screws, rough corners, and visible patches can stand out even more after paint is applied. A proper finish takes patience, the right materials, and close attention to the room’s lighting.
What Does Drywall Finishing Include?
Drywall finishing generally includes treating every joint between panels, covering screw or nail heads, reinforcing corners, applying joint compound in multiple coats, sanding the surface, and preparing it for the specified final appearance. Depending on the project, it may also include texture application, patch blending, repairs around openings, and a final quality check before painting.
The exact scope depends on whether the work is new construction, a small repair, a basement finish, a commercial build-out, or a remodel. It also depends on the finish level the space requires. A garage with a light texture has different expectations than a smooth wall in a formal living room or a well-lit office lobby.
Joint tape and the first coat of compound
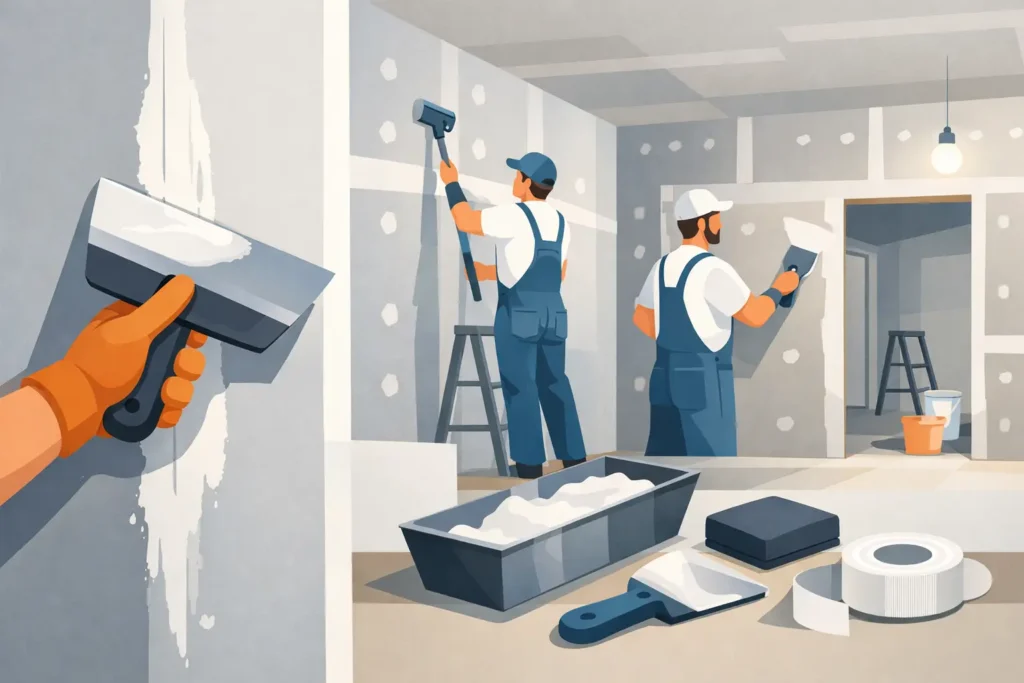
The process begins at the seams where drywall panels meet. A finisher applies joint compound, often called mud, and embeds paper or mesh tape into the wet material. The tape reinforces the joint and helps reduce the risk of cracks appearing along panel seams as the building experiences normal movement.
Inside corners are typically taped as well. On outside corners, finishers commonly install corner bead or another corner reinforcement product before applying compound. This protects exposed edges from everyday bumps and creates a straight, clean line.
The first coat is not meant to look perfectly smooth. Its job is to secure the tape, fill gaps where appropriate, and establish a strong base for later coats.
Additional coats to hide seams and fasteners
After the first coat dries, the finisher applies additional, wider coats of joint compound. Each coat feathers farther beyond the seam so the transition becomes invisible rather than leaving a raised line across the wall or ceiling.
Fastener heads also receive compound, usually in more than one application. This step matters because small dimples or visible screw patterns may not be obvious until sunlight hits the wall at an angle. The same care is needed around drywall patches, door openings, windows, soffits, and repaired areas where new material meets existing surfaces.
Drying time is part of the work. Humidity, temperature, ventilation, and the type of compound used can all affect the schedule. Trying to sand or recoat material before it has cured properly can lead to rough surfaces, weak joints, or unnecessary rework.
Sanding and surface preparation
Once the final coats are dry, the surface is sanded to remove ridges, tool marks, and minor imperfections. Good sanding is controlled work. Over-sanding can expose tape or leave shallow areas, while under-sanding can create lines that show through paint.
Professional crews also manage dust as carefully as practical for the job. Drywall sanding creates fine dust that can travel through an occupied home or business, so containment, cleanup, and protecting nearby areas should be part of the plan. For repair projects, keeping the work area orderly is especially valuable when the rest of the property remains in use.
After sanding, the walls and ceilings should be inspected under available lighting. A surface can feel smooth by hand but still show imperfections in direct sunlight or under bright fixtures. Addressing those details before primer saves time and protects the final result.
Texture May Be Part of Drywall Finishing
Texture is often included in drywall finishing, but not always. The contract or quote should make clear whether the project calls for smooth walls, orange peel, knockdown, skip trowel, popcorn removal, or a custom texture match.
In many Oklahoma homes, texture helps create a consistent look and can make minor surface variations less noticeable. On the other hand, smooth-wall finishes offer a clean, modern appearance but require more careful prep because flaws are easier to see. Neither option is automatically better. The right choice should match the existing home, the room’s lighting, the paint sheen, and the owner’s preferences.
For repair work, texture matching is a major part of a successful finish. A patch may be structurally sound, but it will still draw attention if the surrounding texture does not blend. The goal is for the repaired area to look like it has always belonged there.
What Drywall Finishing Does Not Always Include
One common source of confusion is assuming drywall finishing includes every step after installation. It often prepares walls for paint, but painting may be a separate service. Primer, paint, trim work, electrical fixture removal and replacement, insulation, framing corrections, and demolition may also be priced separately unless they are specifically included in the scope.
Likewise, significant wall damage may require more than finishing. If moisture, foundation movement, plumbing leaks, or framing problems caused the drywall issue, those underlying conditions should be addressed first. Fresh compound over an active problem may look good temporarily, but it will not provide a lasting repair.
Before work begins, a clear quote should identify the rooms or areas involved, the texture or finish expected, whether materials are included, and what preparation or cleanup is planned. That clarity helps avoid surprises and gives both the customer and contractor a shared standard for the finished work.
Understanding Drywall Finish Levels
Drywall finish levels describe how much treatment a surface receives before its final covering. A Level 0 finish is essentially installed drywall with no tape or compound. Level 1 is a basic taped finish often used in concealed areas. Level 2 adds compound over tape and fasteners, commonly for spaces that will be covered with tile or another material.
Level 3 receives additional compound and is generally suitable for heavier textures. Level 4 is the common standard for painted interior walls with light-to-medium texture or flat paint. Level 5 is the highest level, typically involving a skim coat or specialized surface treatment to provide the most uniform appearance under critical lighting or glossy paint.
Most homes do not need Level 5 throughout every room. It can add labor and cost, and it is most valuable on smooth walls with strong natural light, high-gloss finishes, or design features that make imperfections more visible. A dependable contractor should explain the practical finish level for each space instead of selling more work than the project needs.
Why Professional Finishing Makes a Difference
Drywall finishing is easy to underestimate because the finished surface is supposed to disappear into the room. But it is one of the most visible parts of an interior project. Careful feathering, straight corners, matched texture, and thorough inspection make paint look better and help a repair blend with the surrounding wall.
For builders and commercial clients, quality finishing also supports a cleaner handoff and fewer punch-list issues. For homeowners, it means the room looks complete rather than merely repaired. KCS Drywall approaches finishing with that standard in mind: clear communication, clean work areas, and craftsmanship that holds up after the crew leaves.
If you are planning drywall work, ask what finish level, texture, prep, and cleanup are included before the project starts. A clear scope and a carefully finished surface give you the confidence to move on to paint, fixtures, and the parts of the space you are excited to enjoy.