
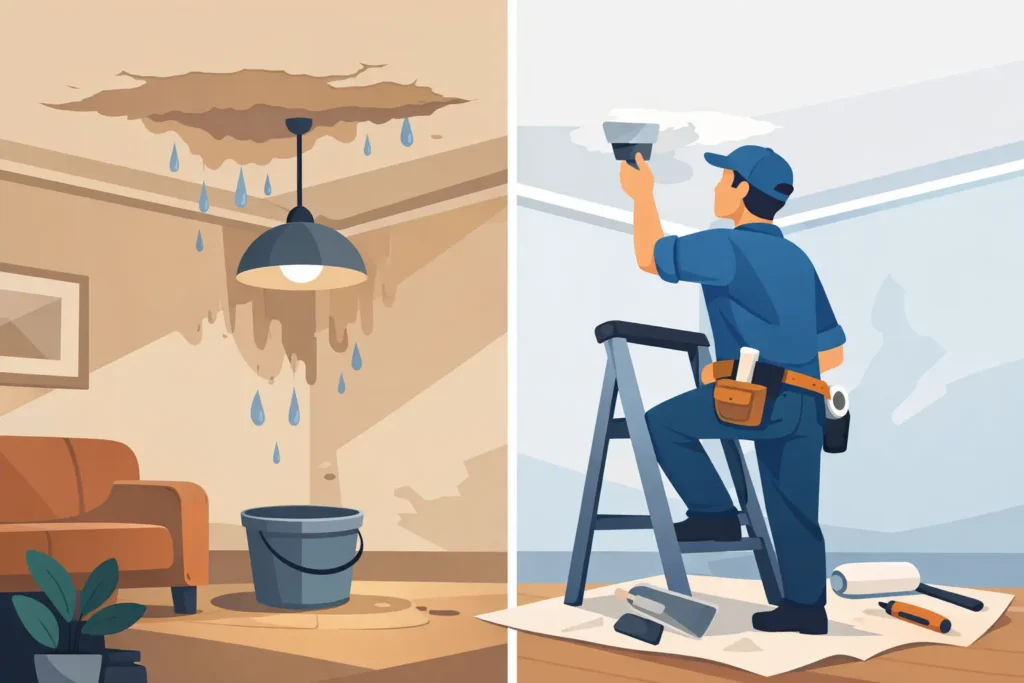
A brown ceiling stain after a hard Oklahoma rain may look like a simple paint problem. It usually is not. This water damaged ceiling repair example shows why the visible damage is only one part of the job. A lasting repair starts by stopping the water, confirming the materials are dry, and rebuilding the ceiling so the patch blends with the rest of the room.
Consider a common call: A homeowner notices a soft, discolored area near an exterior wall after a storm. The stain is roughly four feet wide, the drywall has begun to sag at the center, and a faint musty odor is present. The roof leak has already been repaired, but the ceiling still needs attention. At that point, painting over the stain would only hide a problem that may return.
Water Damaged Ceiling Repair Example: From Leak to Finish
The first step is identifying whether the water source is truly resolved. In this example, the damaged area sits below a roof valley, making storm intrusion the likely cause. In other homes, the source could be a leaking supply line, a bathroom drain, an overflowing appliance, a failed HVAC condensate line, or a plumbing issue in an upstairs bathroom.
A drywall repair should not begin until the source has been corrected. If water is still entering the ceiling cavity, new drywall and fresh paint will eventually fail too. For plumbing-related damage, that may mean having the affected line, fixture, or drain repaired first. For roof leaks, the flashing, shingles, valleys, vents, or penetrations need to be addressed before interior work begins.
Once the leak is stopped, the next question is whether the drywall can be saved. Minor discoloration on firm, dry drywall can sometimes be sealed and repainted. In this case, however, the sagging surface tells a different story. Wet gypsum loses its strength. A ceiling that has softened, bowed, separated at seams, or started to crumble is not a good candidate for a cosmetic touch-up.
The damaged drywall should be removed in a controlled section, extending beyond weak material to solid framing. Cutting only the visible stain can leave damp or deteriorated drywall behind. A professional also checks the insulation above the ceiling, nearby framing, and the back side of surrounding drywall for signs that water traveled farther than expected.
Drying Comes Before Replacement
After removal, the open ceiling cavity needs time to dry. Depending on the amount of water, the type of leak, airflow, insulation, and indoor humidity, this can take a day or several days. Fans, dehumidifiers, and air movement may help, but the goal is not simply to make the room feel dry. The framing and surrounding materials need to reach an acceptable moisture level before the ceiling is closed back up.
This step protects the repair from future problems. Trapped moisture can contribute to odor, staining, mold growth, fastener rust, and joint failure. If insulation is wet, compressed, or contaminated, it may need to be removed and replaced rather than dried in place.
There is also a safety issue to consider. If water is near a ceiling light, fan, smoke detector, or electrical box, shut off power to that area and have it evaluated before removing material. A ceiling that is actively bulging or holding water should be treated carefully as well. It can release a surprising amount of water or collapse without much warning.
Rebuilding the Ceiling the Right Way
Once the area is dry and sound, the repair can move forward. New drywall is cut to fit the opening and secured to solid framing. If the opening falls between framing members, backing may be installed to provide a stable attachment point. This prevents a loose patch, cracked seam, or uneven surface later.
The seams are then taped and finished with joint compound in thin, gradual coats. Good finishing matters because ceilings reveal imperfections differently than walls. Light from windows and overhead fixtures can highlight a ridge, shallow joint, or poor sanding job that may be easy to miss during the repair itself.
After the compound dries, the surface is sanded smooth and matched to the surrounding ceiling texture. This is often where the quality of a repair becomes most noticeable. Smooth ceilings require careful feathering, while orange peel, knockdown, skip trowel, and popcorn textures each need a different approach. Texture can be blended successfully, but an exact match depends on the existing finish, lighting, age of the ceiling, and size of the repaired area.
Primer is applied before paint, especially when new drywall, fresh joint compound, or an old water stain is involved. A stain-blocking primer helps prevent discoloration from bleeding through the final coat. For the most consistent appearance, painting the full ceiling plane is often better than painting only the patched section. Spot painting may work in some cases, but sheen changes and aged paint can make the repair stand out.
When a Small Stain Is Not a Small Repair
The size of the stain does not always tell you how extensive the repair will be. Water can travel along framing, collect in insulation, or spread above the drywall before becoming visible. A small circle on the ceiling may have started several feet away from where it appears.
The repair scope also changes based on the source. Clean water from a recently repaired supply line may call for drying, removal of compromised drywall, and replacement. Water from a drain backup, toilet overflow, or contaminated source requires more caution and may involve removal of affected porous materials. Long-term leaks can create more significant concerns because the drywall, insulation, wood framing, and paint layers have had more time to absorb moisture.
For commercial properties and rental homes, documenting the cause and extent of damage is especially useful. Property owners and managers benefit from a clear record of what was found, what was removed, and what was repaired. It supports better maintenance decisions and helps prevent the same issue from becoming a repeat service call.
What Homeowners Can Do Before Repairs Begin
A prompt response limits the damage. Move furniture and valuables away from the affected area, place containers below active drips, and take photos before anything is removed. If the ceiling is swollen, soft, or sagging, keep people out from directly underneath it.
Avoid pushing on the ceiling or trying to screw sagging drywall back into place. That does not restore damaged gypsum, and it can create a sudden failure. It is also wise to avoid applying paint, texture, or joint compound until the leak is fixed and the materials are dry. Those shortcuts can trap moisture and make a proper repair more difficult.
If you can safely identify a simple source, such as a running toilet or a dripping line under a fixture, stop the water when possible. For a roof leak during a storm, focus on limiting interior damage and arrange for roof service. Interior ceiling restoration should follow after the exterior source is addressed.
Why Professional Ceiling Repair Is Worth It
Ceiling drywall repair combines several trades in a small area: moisture evaluation, demolition, drywall installation, taping, texture work, priming, and painting. Each step affects the next. A rushed patch may look acceptable on day one but develop cracks, discoloration, or visible texture differences after the room dries and light hits it from a new angle.
KCS Drywall approaches water-damaged ceilings with the same focus used on every repair: assess the full condition, protect the home, replace compromised material, and finish the surface cleanly. For homeowners, that means fewer surprises and a ceiling that looks like it belongs in the room again.
A water-damaged ceiling is not something to ignore, even when the stain seems minor. Address the source quickly, let the area dry completely, and choose a repair plan based on the actual condition behind the drywall. That is how a stressful leak becomes a repair you can put behind you.