
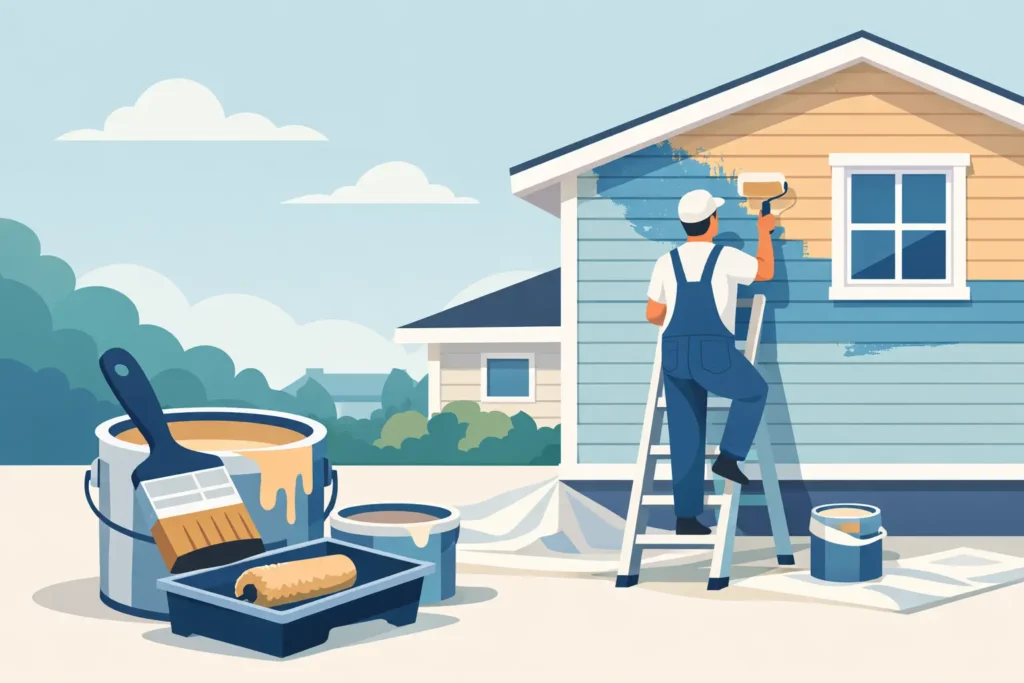
Peeling paint, faded color, and chalky siding can make an otherwise well-kept property look neglected. Knowing how to repaint exterior siding helps you protect the materials underneath while giving your home a cleaner, more finished appearance. The key is not applying a new coat as quickly as possible. Lasting results come from careful prep, compatible products, and painting when Oklahoma weather gives the coating time to cure properly.
How to Repaint Exterior Siding: Start With the Material
Before buying paint, identify the type of siding on your home. Wood, fiber cement, engineered wood, aluminum, and vinyl all require a slightly different approach. A paint that performs well on fiber cement may not be the right choice for vinyl, and a wood surface with peeling paint may need much more preparation than metal siding with a faded finish.
Wood siding needs close inspection for rot, split boards, loose nails, and failed caulk. Replace damaged boards before painting. Paint can improve appearance and add a protective layer, but it cannot stabilize wood that is already soft or deteriorating.
Fiber cement siding is durable and highly paintable, but it still needs to be clean, dry, and properly caulked. If the factory finish is in good condition, a quality exterior acrylic paint is often the right next coat. Bare spots, repairs, or areas with exposed fiber cement should be primed first.
Vinyl siding can be painted if it is in sound condition, but color selection matters. Dark colors absorb more heat and can cause vinyl panels to warp, buckle, or distort. Choose a vinyl-safe exterior paint and stay close to the existing color unless the paint manufacturer specifically approves a darker option.
Aluminum siding should be cleaned thoroughly and checked for oxidation. A powdery surface will prevent good adhesion unless it is washed away and the siding is properly primed where needed.
Inspect, Clean, and Repair Before Painting
The most common reason exterior paint fails early is poor surface preparation. Fresh paint will not hold to dirt, mildew, loose coating, failing caulk, or damp siding. Taking time at this stage protects the value of the entire project.
Start with a full walk-around of the house. Look closely at trim joints, corners, window frames, soffits, and areas near gutters. These locations often show water damage first. Mark boards that need replacement and note where caulk has cracked or pulled away.
Wash the siding to remove dust, pollen, cobwebs, mildew, and chalky residue. A garden hose, soft-bristle brush, and exterior siding cleaner are often enough for routine cleaning. Pressure washing can work well when handled carefully, especially on larger homes, but too much pressure can force water behind siding, scar wood, or damage aging caulk. Let the surface dry completely after washing. In humid conditions or after a thorough wash, waiting at least 24 to 48 hours is usually wise.
Once the siding is dry, scrape loose and peeling paint. Feather the edges with sandpaper so the transition between bare material and existing paint is smooth. This step may feel slow, but skipping it leaves visible ridges and gives new paint a weak surface to grip.
Repair small holes, dents, and cracks with a filler rated for exterior use. Re-caulk gaps around trim, windows, doors, and siding joints using paintable exterior caulk. Do not caulk areas designed to drain water, such as certain siding laps, weep holes, or openings at the bottom of exterior trim.
For a clean, dependable prep process, gather the basics before starting:
- Exterior cleaner, a soft brush, and hose
- Scraper, sanding block, and dust brush
- Paintable exterior caulk and patching compound
- Drop cloths, painter’s tape, primer, and quality exterior paint
Prime Bare Areas and Problem Surfaces
Primer is not always necessary across every square foot of previously painted siding. If the existing coating is sound, clean, dull, and compatible with the new paint, a quality paint-and-primer product may be sufficient. However, bare wood, exposed fiber cement, patched repairs, stained areas, and heavily weathered surfaces should receive the right primer before topcoating.
On bare wood, use an exterior primer that seals the surface and helps prevent uneven paint absorption. For knots, tannin bleed, water stains, or rust marks, use a stain-blocking primer. On metal, select a primer designed for aluminum or other exterior metal surfaces.
Primer also helps when changing from a very dark color to a much lighter one. It creates a more uniform base, which can reduce the number of finish coats required. Still, do not assume primer replaces finish paint. The topcoat provides the color, weather resistance, and long-term protection your siding needs.
Choose Paint Made for Exterior Conditions
Exterior siding needs paint that can handle sunlight, rain, temperature shifts, wind-driven dust, and seasonal moisture. For most painted siding, high-quality 100 percent acrylic exterior paint is a practical choice because it offers flexibility, color retention, and good adhesion.
Finish sheen depends on the siding and the condition of the surface. Satin and low-luster finishes are popular for siding because they provide a slight sheen without highlighting every imperfection. Flat paint can hide surface variation, but it tends to collect dirt and can be harder to wash. Semi-gloss is typically better reserved for trim, doors, and shutters rather than broad siding areas.
Buying better paint is usually worth it. Lower-cost products may require more coats, cover unevenly, or lose color sooner under strong sun. A quality paint system can cost more at the start, but it can reduce maintenance and repainting frequency over time.
Pick the Right Day to Paint
Weather can make or break an exterior paint job. Paint needs the right temperature range and enough dry time to form a durable film. Always follow the product label, since acceptable conditions vary by manufacturer.
Avoid painting when rain is expected before the paint can dry, when the siding is damp, or when temperatures are outside the product’s recommended range. Very hot siding can be just as troublesome as cold weather. If direct afternoon sun is heating one side of the house, paint a different elevation first and return later when that surface is cooler.
In the Oklahoma City area, spring and fall often provide the most workable painting conditions, though dry stretches in summer can also work well with the right schedule. Wind deserves attention, too. It can carry dust onto wet paint and make spraying difficult to control.
Apply Paint in a Controlled Order
Protect landscaping, walkways, fixtures, and windows with drop cloths and masking materials. Remove or cover anything that could collect overspray or drips. If you are painting near brick, stone, or roofing, take extra time to mask cleanly. Careful protection is faster than removing dried paint later.
Work from the top down. Start with soffits, fascia, and upper trim if those areas are part of the project, then move to siding and finish with lower trim, doors, or shutters. Keeping a wet edge helps prevent lap marks, especially on long runs of wood or fiber cement lap siding.
Brushes are useful for edges, joints, and narrow areas. Rollers work well on broad, flat sections. A sprayer can speed up a large project, but it requires experience, masking, and back-rolling or back-brushing to work paint into the surface evenly. On textured siding, spraying without back-rolling may leave thin spots that fail sooner.
Apply two finish coats unless the paint manufacturer and existing surface conditions clearly support one-coat coverage. Let each coat dry for the full recommended time. Paint that feels dry to the touch may still be curing underneath, so avoid pressure washing or aggressive cleaning immediately after the job is complete.
Know When a Professional Is the Better Call
A homeowner can repaint siding successfully when the surfaces are accessible, the existing paint is mostly sound, and repairs are limited. The project becomes more complex when there is extensive peeling, suspected rot, high elevations, lead-based paint in an older home, or siding damage around windows and trim.
Professional painters bring the equipment, repair knowledge, and jobsite control needed for those situations. They can identify whether a paint issue is caused by sun exposure, moisture intrusion, failed caulk, or an incompatible prior coating. That diagnosis matters because repainting over an unresolved problem only delays the next repair.
KCS Drywall helps Oklahoma property owners handle exterior repairs and painting with the same focus on clean workmanship, clear communication, and durable results used on every improvement project.
A well-painted exterior should look good, but it should also give you confidence when the weather turns. Prepare the siding carefully, use products suited to the material, and do not rush drying time. That disciplined approach is what turns a fresh coat of paint into protection that holds up.