
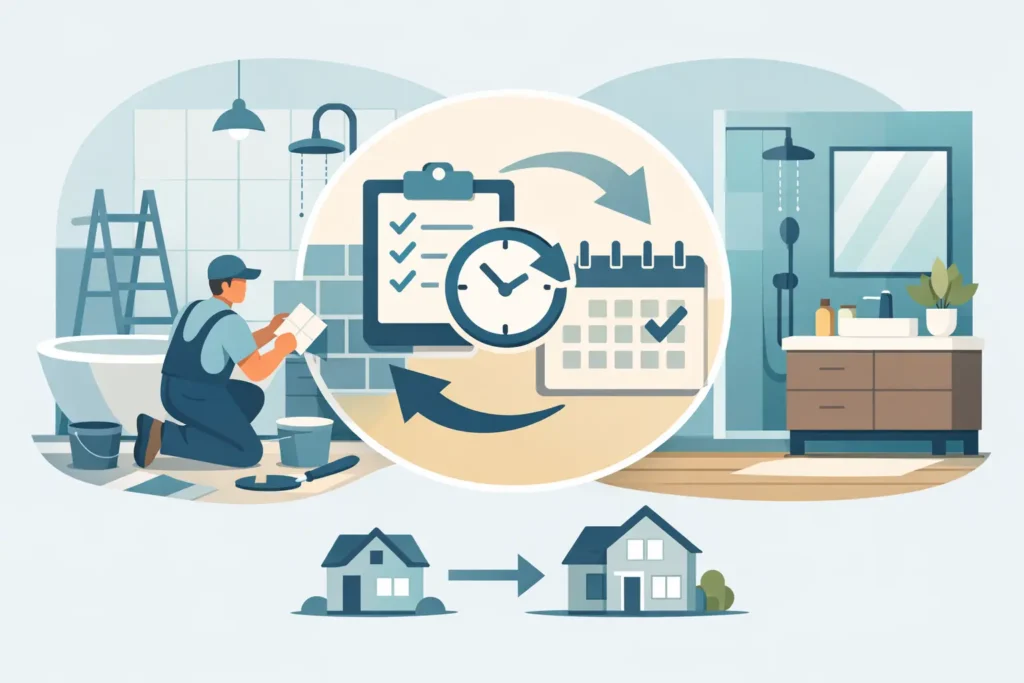
A bathroom can look like a small project until the walls are open, plumbing needs to move, and the tile you chose is still two weeks from delivery. This bathroom renovation timeline guide gives Oklahoma homeowners a realistic view of what happens before, during, and after construction so they can plan with confidence.
Most full bathroom remodels take three to six weeks once work begins. The complete process often takes six to 12 weeks when you include design decisions, estimates, material ordering, permits, and scheduling. A simple cosmetic update may move faster. A remodel involving layout changes, custom materials, structural work, or specialty fixtures may take longer.
Start With a Clear Scope: 1 to 3 Weeks
The most dependable renovation schedules start before demolition. Decide what needs to change and what can stay. Replacing a vanity, flooring, paint, lighting, and fixtures is a different job from moving a shower, expanding the room, or correcting water damage behind the walls.
During this stage, identify your priorities. Maybe the goal is a safer walk-in shower, more storage, easier cleaning, or a bathroom that better matches the rest of the home. A clear priority list helps prevent late changes that affect cost, material availability, and the construction schedule.
A contractor should inspect the space, discuss your goals, and provide a detailed scope of work. This is the time to ask direct questions about who will handle demolition, plumbing, electrical work, drywall, tile, painting, cleanup, and final touchups. Clear communication up front protects the schedule later.
For homes in the Oklahoma City metro, it is also wise to discuss the age and condition of the home. Older bathrooms can hide outdated plumbing, damaged subfloors, poor ventilation, or previous repairs that do not meet current standards. Finding these issues before construction is not always possible, but an experienced contractor will explain where uncertainty may exist.
Select Materials Before Demolition: 2 to 8 Weeks
Material selection is where many bathroom projects lose time. A contractor can often schedule demolition quickly, but it does not make sense to open a bathroom before the major items are available or have confirmed delivery dates.
Choose the pieces that control the layout first: tub or shower, vanity, countertop, toilet, tile, faucets, lighting, mirrors, and exhaust fan. Confirm dimensions carefully. A vanity that looks right online may interfere with a door swing, and a new shower valve may require wall changes that were not part of the original plan.
Stock materials can be available within days. Custom vanities, specialty tile, stone countertops, shower glass, and certain fixtures can take several weeks or longer. If you want a faster renovation, consider selecting in-stock materials with dependable lead times. That trade-off can be worth it when one bathroom serves the entire household.
Keep all product information in one place, including model numbers, finish selections, delivery dates, and any installation requirements. This gives the contractor a reliable reference and reduces the chance of a wrong finish or missing component slowing down the work.
Permits and Scheduling: Usually 1 to 3 Weeks
Whether a permit is required depends on the scope and local jurisdiction. Cosmetic work such as painting, replacing a vanity in the same location, or updating finishes may not need one. Moving plumbing, changing electrical circuits, altering ventilation, or modifying walls may require permits and inspections.
Do not treat permits as a reason to avoid a needed improvement. They help verify that the work meets applicable safety standards. A professional remodeler can explain what applies to your project and build inspection timing into the schedule.
Scheduling also depends on trade coordination. Bathroom remodeling brings several skilled tasks into a small space, and they have to happen in the right order. Plumbers, electricians, drywall finishers, tile installers, painters, countertop fabricators, and glass installers cannot all work at once. Good scheduling keeps the project moving without rushing work that needs time to cure or dry.
Construction Timeline: What Happens Each Week
Week 1: Protect the Home and Complete Demolition
Before demolition begins, the work area should be protected from dust and foot traffic. Crews may cover floors, isolate the bathroom, and establish a path for removing debris. A clean, organized jobsite matters, especially when the bathroom is near bedrooms or main living areas.
Demolition comes next. Old fixtures, flooring, wall finishes, and sometimes damaged drywall or subflooring are removed. Once the room is opened, the contractor can assess what is behind the finished surfaces. This is the point when hidden moisture damage, mold concerns, framing issues, or old plumbing may become visible.
Unexpected repairs can add time, but they should not be ignored just to keep a calendar date. Repairing the structure and moisture protection correctly is what gives the new bathroom a durable foundation.
Week 2: Rough Plumbing, Electrical, and Framing
After demolition and any needed repairs, rough work begins. Plumbing lines are moved or updated, electrical wiring is installed, and framing is adjusted for niches, shower walls, grab bars, or layout changes. If the project includes a new exhaust fan, this is typically when the electrical and venting work is completed.
This phase may include an inspection when permits are involved. Inspections can affect the timeline depending on local availability, but planning for them is far better than treating them as an afterthought.
Week 3: Drywall, Waterproofing, and Tile Preparation
Walls are closed with the right materials for the location. Standard drywall is not the right choice for every wet area. Shower surrounds require proper backer materials and waterproofing systems, while the rest of the bathroom needs clean, durable drywall finishing that is ready for paint.
Drywall work is not instant. Joint compound needs drying time between coats, and texture or smooth finishes need proper preparation before paint. In shower areas, waterproofing must be installed carefully and allowed to meet product requirements before tile goes up.
This stage is not glamorous, but it has a major impact on the finished result. Straight walls, clean corners, solid backing, and correct moisture protection make tile installation and final painting look better.
Weeks 3 and 4: Tile, Flooring, and Paint
Tile work can take several days, especially with detailed patterns, large-format tile, niches, benches, or custom shower layouts. The tile must be set, grouted, and cured according to the materials used. Rushing this process can lead to cracks, poor adhesion, or uneven lines.
Flooring and paint usually follow as surfaces become ready. The exact order can vary based on the room design and materials. For example, some crews prefer to paint before the vanity is installed, while other projects require final paint touchups after trim, lighting, and fixtures are in place.
Week 4 and Beyond: Fixtures, Finishes, and Final Walkthrough
The final phase brings the room together. The vanity, countertop, toilet, faucets, lighting, mirrors, trim, hardware, and accessories are installed. Shower glass is often one of the last items because it may need to be measured after tile is complete, then fabricated to fit the finished opening.
A professional final walkthrough should cover function as well as appearance. Test faucets, drains, lights, switches, fans, doors, drawers, and shower components. Look closely at paint lines, caulk, grout, trim, and drywall finishes. A good contractor welcomes a clear punch list and completes reasonable touchups before closing out the job.
Common Delays and How to Reduce Them
Some delays are outside anyone’s control, but homeowners can reduce avoidable problems by making decisions early and keeping communication open. The most common schedule changes come from:
- Backordered fixtures, tile, vanities, countertops, or shower glass
- Hidden water damage, subfloor repair, plumbing issues, or mold concerns
- Late design changes after materials have been ordered or work has begun
- Permit and inspection availability for projects involving mechanical changes
- Weather disruptions when exterior access, deliveries, or utility work are affected
The best way to protect your schedule is to build in a little flexibility. If the remodel must be finished before guests arrive, a move, or a holiday, begin planning earlier than you think you need to. A realistic completion window is more useful than a promise that leaves no room for proper drying, inspections, or unexpected repairs.
Plan for Life Without That Bathroom
If the home has only one full bathroom, the renovation plan needs extra care. Ask the contractor how long the toilet, shower, and sink will be unavailable. In some remodels, a toilet can be temporarily reinstalled between phases. In others, the plumbing changes make that impractical.
Prepare a temporary routine before work begins. Move toiletries, medications, towels, and daily essentials out of the room. Keep pets and children away from the work area, and discuss parking, access, and working hours with the crew. These small details make the experience less disruptive for everyone.
A bathroom renovation is a significant investment in comfort, function, and home value. The right schedule is not the shortest one on paper. It is the one that allows skilled work, dependable communication, proper material installation, and a finished space you can trust for years to come.